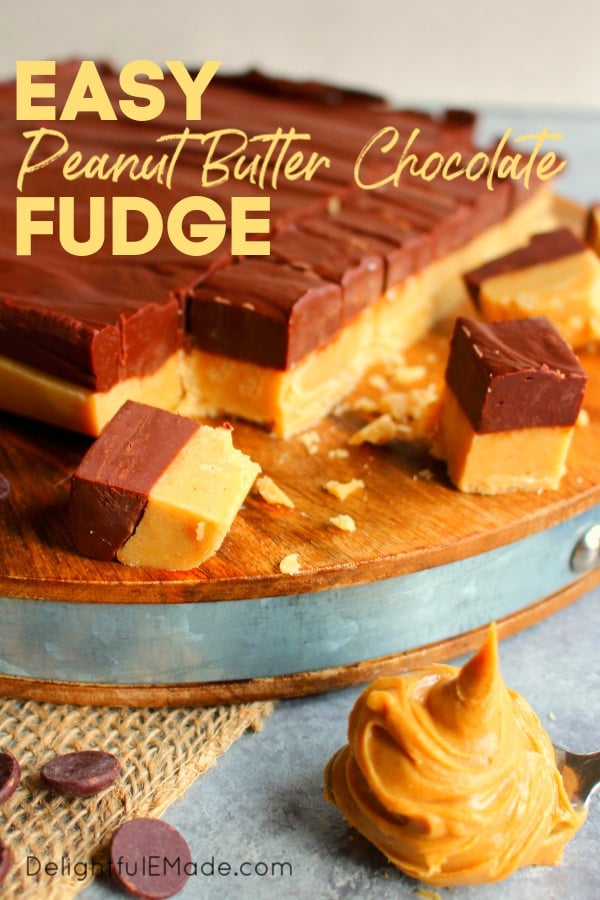
If you’re looking for amazing Christmas fudge recipes, look no further! This incredible layered Peanut Butter Chocolate Fudge recipe is super simple to make and perfect for your Christmas cookie & candy exchanges!
This post may contain affiliate links. Delightful E Made is a participant in the Amazon Services LLC Associates Program, an affiliate advertising program designed to provide a means for us to earn fees by linking to Amazon.com and affiliated sites.
Layered Chocolate & Peanut Butter Fudge
In my humble opinion, I don’t really think it’s Christmas until I’ve indulged in a really good piece of fudge. This year I was craving a good peanut butter chocolate fudge recipe, and this layered Peanut Butter Chocolate fudge did not disappoint!
This fudge recipe was super-simple to make – no sauce pans or candy thermometers needed. All you need to whip up this delicious fudge is your microwave and a pan to put it in.
Like this recipe? Be sure to pin it to your Chocolate or Christmas Candy board!
Follow DelightfulEMade on Pinterest!
Do you make Christmas cookies and candies to bring to your neighbors, friends and co-workers? I always think its a very sweet (literally!) gesture to show your people how much you love and appreciate them.
This Chocolate Peanut Butter Fudge recipe is perfect for packaging in a pretty box or container and gifting to those you love. Making it couldn’t be easier. I’ll show you the simple steps to making this delicious Layered Chocolate & Peanut Butter Fudge.
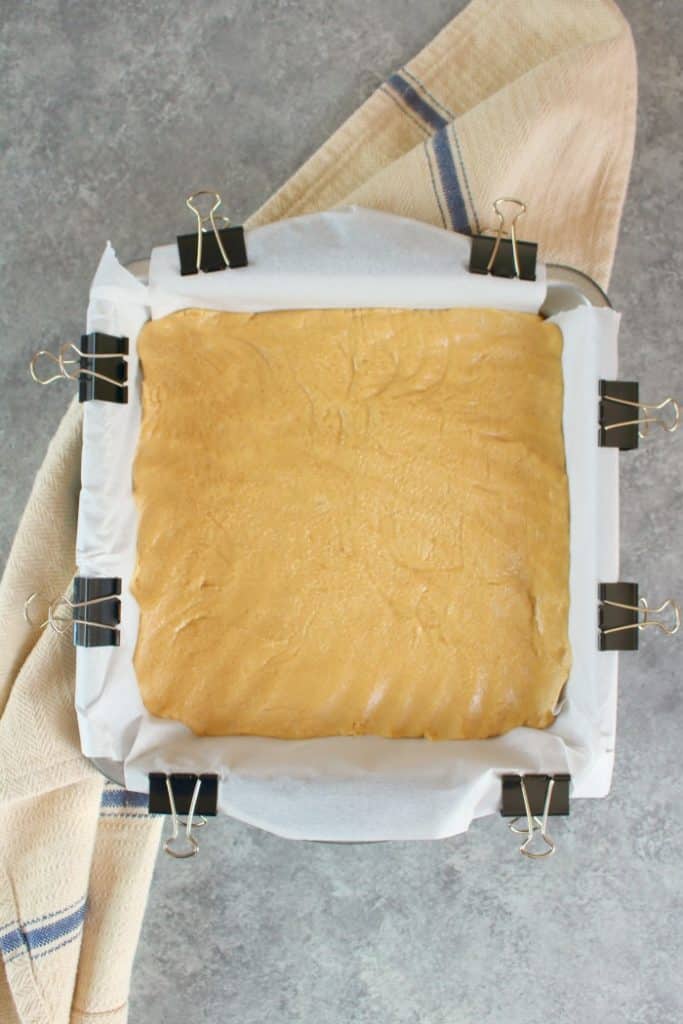
Step 1: Start with the peanut butter fudge layer
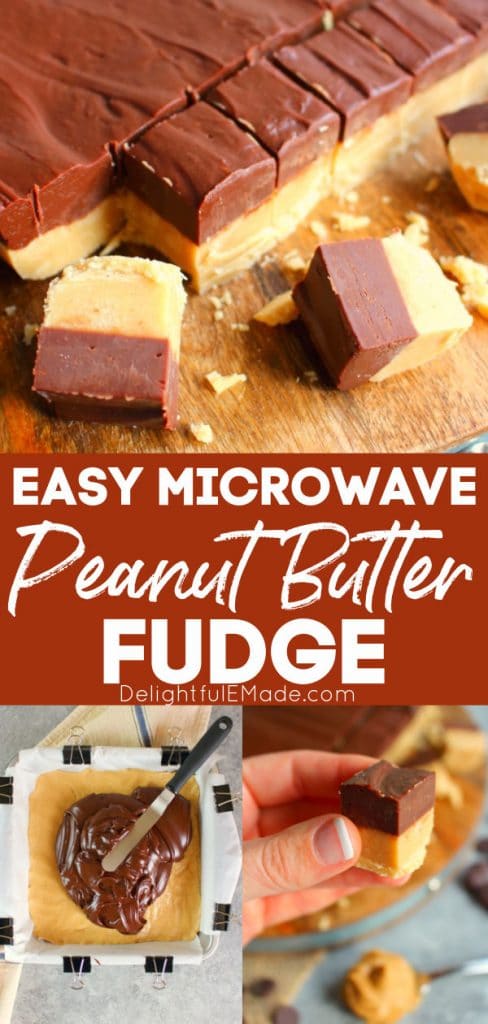
In a microwave safe bowl, melt together the butter and peanut butter. Then stir in the vanilla. You’ll then add the powdered sugar one cup at a time. The mixture will be very thick. Press into the bottom of a lined 9×9″ square pan.
Pan I’m using: OXO Good Grips Non-Stick Pro Cake Pan Square 9 x 9 Inch A 9×9″ square pan is the perfect size for this fudge recipe! A must-have tool for any kitchen.
Pro tip: To secure the parchment paper, I like to use binder clips on the sides of the pan. This helps keep the paper in place and not slide around when you’re trying to add the fudge layers. Using the parchment paper helps to lift the fudge easily out of the pan once cooled.
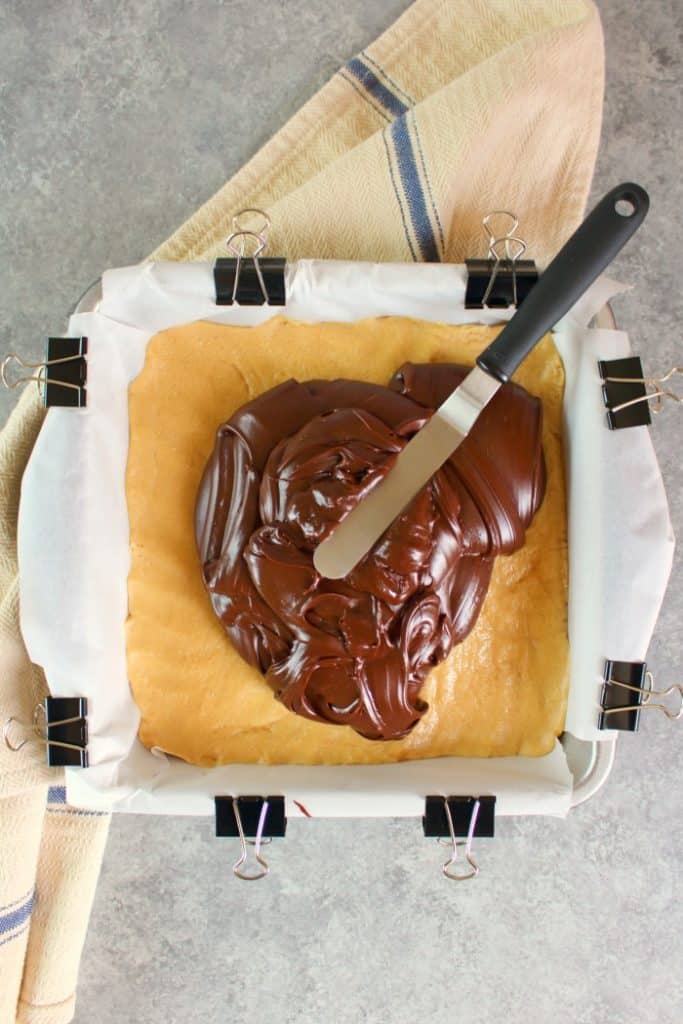
Step 2: Melt together the chocolate fudge layer
In another microwave-safe bowl, add the chocolate chips, sweetened condensed milk and butter. Melt in increments, stirring frequently. Don’t over cook – your chocolate will become dry and lumpy.
The microwave-safe bowls I use: 3-Piece Pyrex Glass Mixing Bowl Set: I use these glass mixing bowls any time I need to melt something in the microwave. It’s also my go-to tool for mixing any type of batter, like pancakes or cakes!
Prevent overcooking by stirring the fudge well and microwaving in short increments. When the fudge looks smooth and glossy, and the chocolate chips have nearly melted completely, you’ll know its ready to spread.
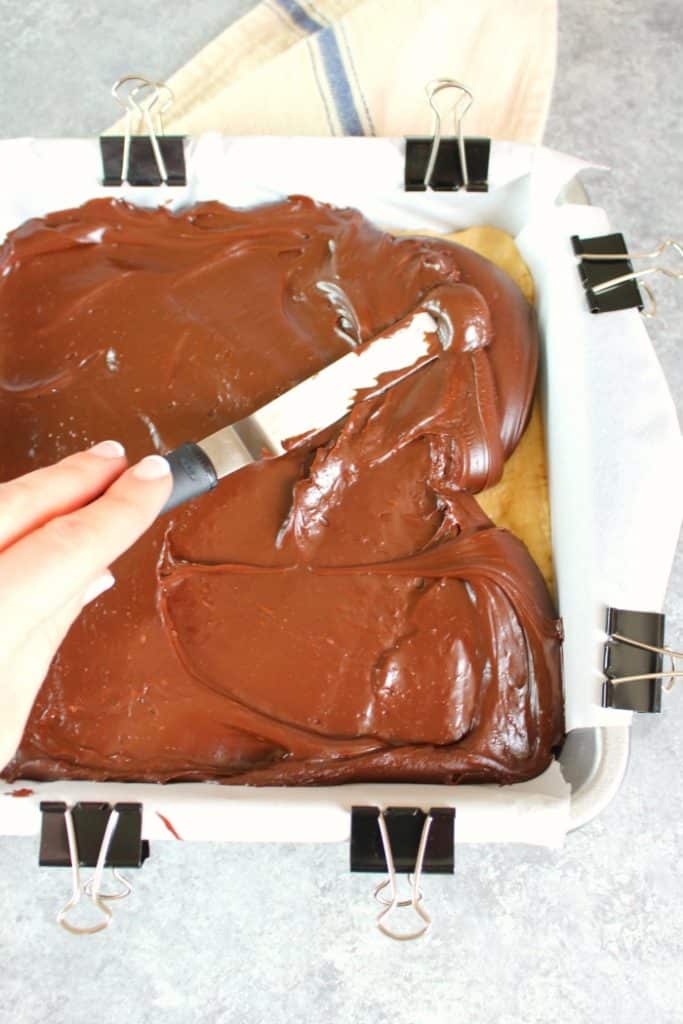
Step 3: Spread the chocolate fudge over the top of the peanut butter layer
Using a frosting spatula (see the one I use below) or a rubber scraper, spread the chocolate fudge evenly over the top of the peanut butter fudge layer. Make sure to go all the way to the parchment paper.
The icing knife I’m using: OXO Good Grips Small Offset Icing Knife (Amazon Affiliate Link): This is a really handy tool for way more than just frosting. I often time use it anytime I need to spread cream cheese, dips and spreads. It’s also perfect for this fudge recipe!
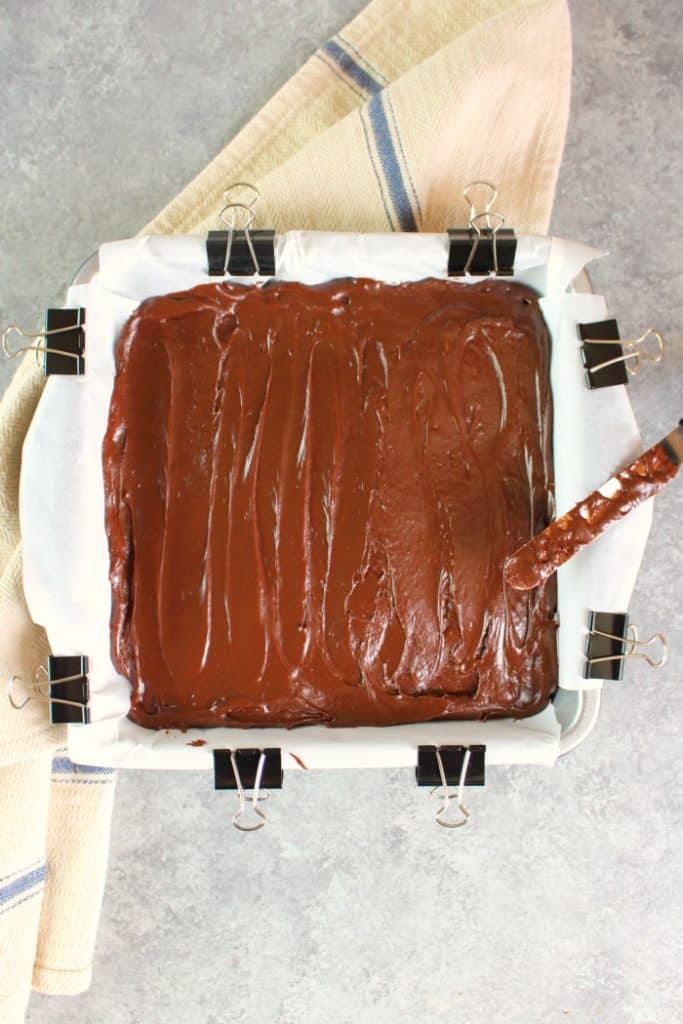
Step 4: Refrigerate or Freeze to get the fudge to set
Once both chocolate and peanut butter fudge layers are in place, the fudge is ready to be refrigerated. You’ll want to chill the fudge for at least 2 hours. You can also freeze for about 1 hour.
This will help the fudge harden to cut into squares. Don’t skip this step. The fudge will need to be adequately set in order to cut into squares.
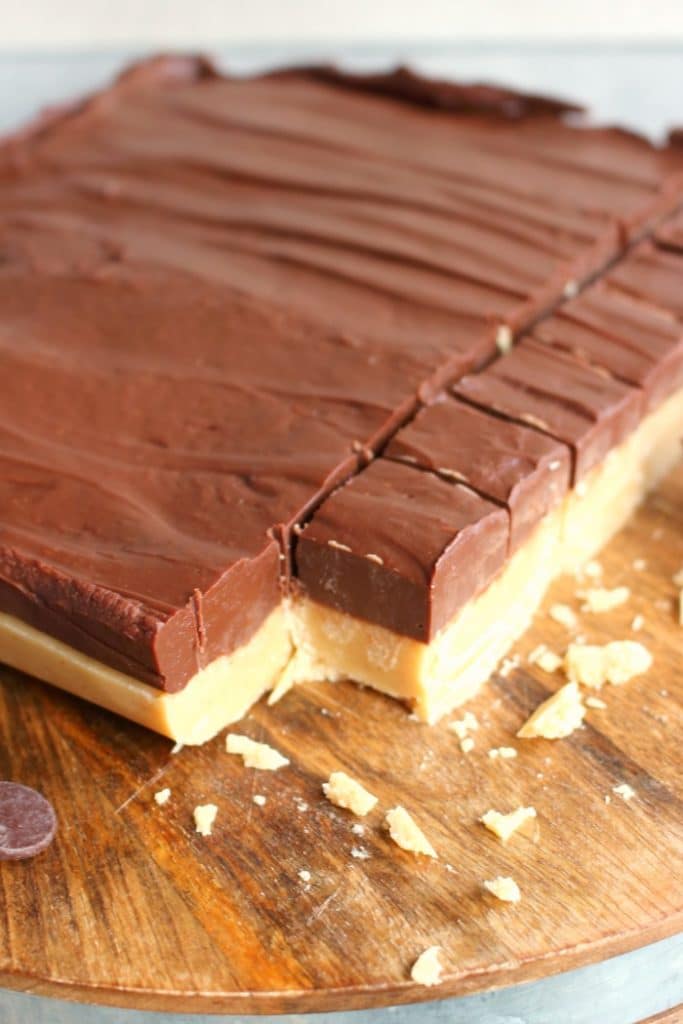
Once your fudge is set, it’s ready to cut into squares. The fudge will easily come out of the pan – simply lift out by the edges of the parchment paper. Remove the paper, and place on a cutting board.
Slice with a large, sharp knife. This peanut butter fudge recipe makes quite a large quantity. You’ll get at least 48 – 1″ squares, if not more.
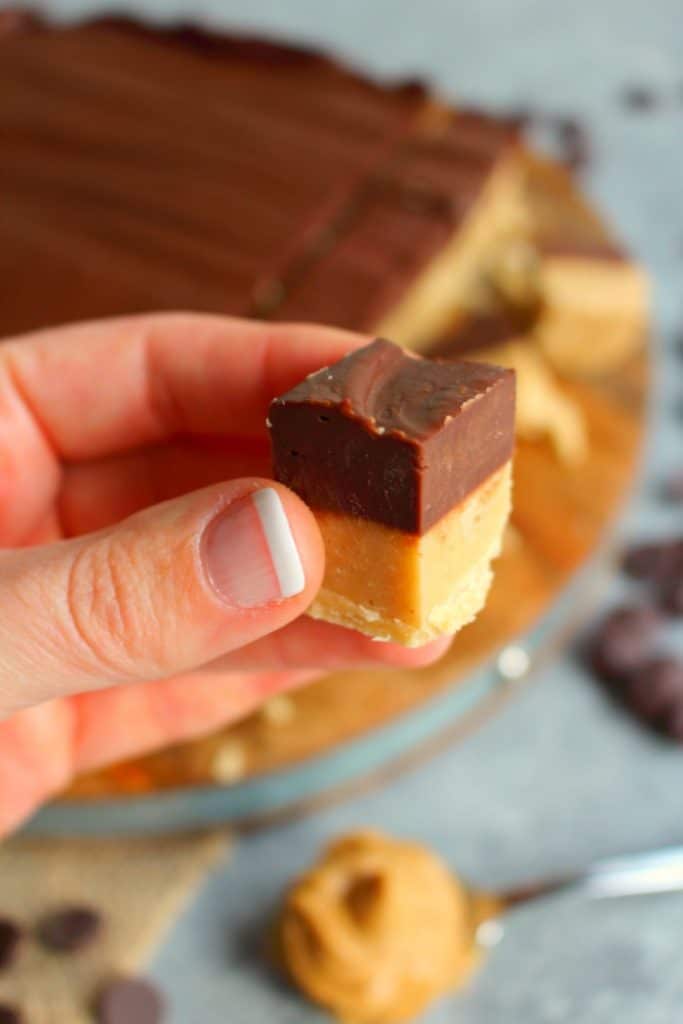
This fudge is absolutely irresistible! It’s the perfect treat for your next holiday party, cookie or candy exchange. I hope you get to enjoy this Layered Peanut Butter Fudge recipe soon! ~Erin
If you loved this delicious Peanut Butter Chocolate Fudge Recipe, then be sure to check out some of my other Christmas Fudge recipes:
- Maple Pecan Fudge
- Peppermint Red Velvet Fudge
- Cranberry Bliss Fudge
- White Chocolate Fudge
- Coconut Fudge with Macadamia Nuts
- Salted Caramel Fudge
If you find chocolate and peanut butter irresistible, be sure to check out some of my other Chocolate & Peanut Butter recipes:
- Peanut Butter Pretzel Bark
- Christmas Chocolate Bark
- Chocolate Peanut Butter Cake
- Chocolate Chip Peanut Butter Oatmeal Bars
- Reese’s Peanut Butter Cup Cookies
- Chocolate Peanut Butter Rice Krispie Treats
- Chocolate Dipped Ritz Cracker Cookies
- Peanut Butter White Chocolate Crock Pot Candy
- Chocolate Peanut Butter Mousse Bars
- Penguin Cookies – no bake & made with chocolate & peanut butter!
- Reindeer Pretzels
- Rice Krispie Christmas Trees
- Chocolate Chip Peanut Butter Banana Bread
Chocolate Peanut Butter Fudge recipe:
Want to Save This Recipe?
Enter your email & I’ll send it to your inbox. Plus, get great new recipes from me every week!
By submitting this form, you consent to receive emails from Delightful E Made.
Chocolate Peanut Butter Fudge
Equipment
- 9 x 9 Pan This non-stick square 9 x 9" pan is ideal for making fudge.
- Glass Mixing Bowls These glass mixing bowls are perfect for going into the microwave!
- Icing Spatula This 3-piece Icing spatula set by Wilton is great for fudge, frosting cakes, cookies and more!
Ingredients
Peanut Butter Layer:
- 1 cup creamy peanut butter
- 1 cup butter 2 sticks
- 1 teaspoon vanilla
- 3 1/2 cups powdered sugar
Chocolate Fudge Layer:
- 1 (10 oz. bag) semi-sweet chocolate chips (about 1 1/2 cups)
- 1 (14 oz. can) sweetened condensed milk
- 2 Tablespoons butter
Instructions
For the Peanut Butter Fudge Layer:
- Line a 9×9″ square pan with parchment paper. Secure with binder clips to help keep the paper in place.
- In a microwave safe bowl, melt together the butter and peanut butter. Microwave for 60 seconds. Stir, then microwave for another 30 seconds until melted, stirring well.
- Add in the vanilla and stir to combine. Gradually add in the powdered sugar, one cup at a time. Mixture will become very thick. Press into the bottom of the lined pan. Set aside.
For the Chocolate Fudge Layer:
- In a microwave safe bowl, add the chocolate chips, sweetened condensed milk and butter. Microwave for 60 seconds. Stop and stir well. Microwave for another 30 seconds and stir until smooth and melted.
- Pour over the peanut butter layer. Spread evenly with a spatula, making sure all sides are evenly covered. Refrigerate the fudge for at least 2 hours (you can freeze for 1 hour) to let the fudge set before cutting into squares.





This fudge looks fantastic! Yum! Perfect for the holidays! Thank you for sharing on Merry Monday! We hope you will join us again next week!
Kim
This looks delicious and fairly easy! Have you ever tried to add mix-ins like nuts or marshmallows? Thanks for sharing at Fiesta Friday!
I’m so far behind, but I wanted to make sure I stopped by and thanked you for sharing at the What’s for Dinner party. Hope to see you again this week!
These look amazing! Thank you for sharing at Fiesta Friday!
This looks so good! I love the combination of chocolate and peanut butter, and so do my kids. I’ll be trying this!
Thanks so much for joining the Grace at Home party at Imparting Grace. I’m featuring you this week!