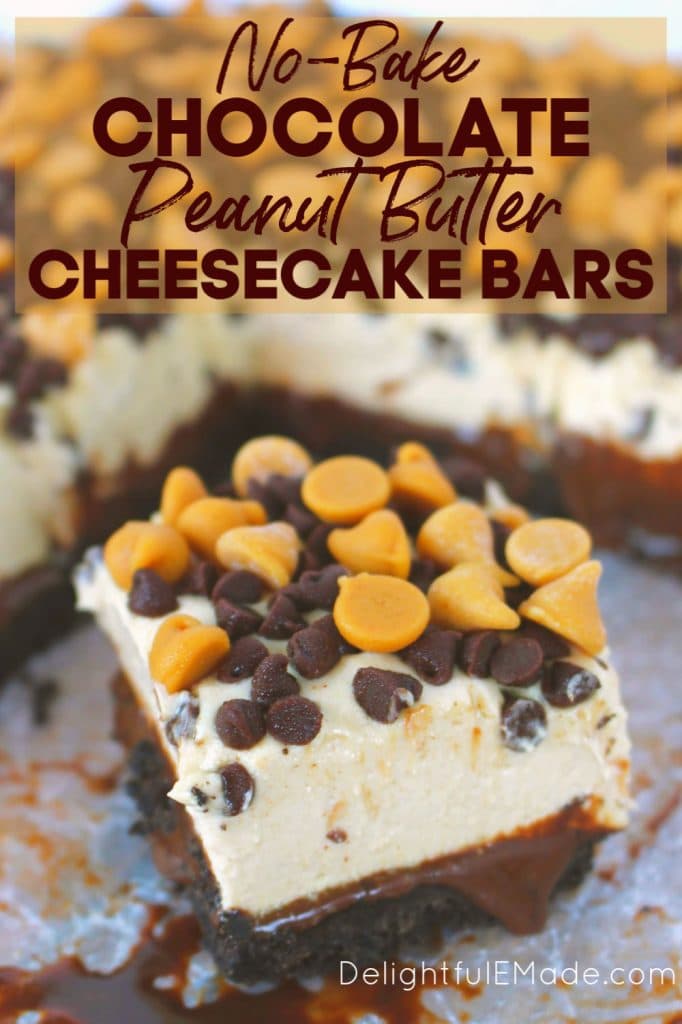
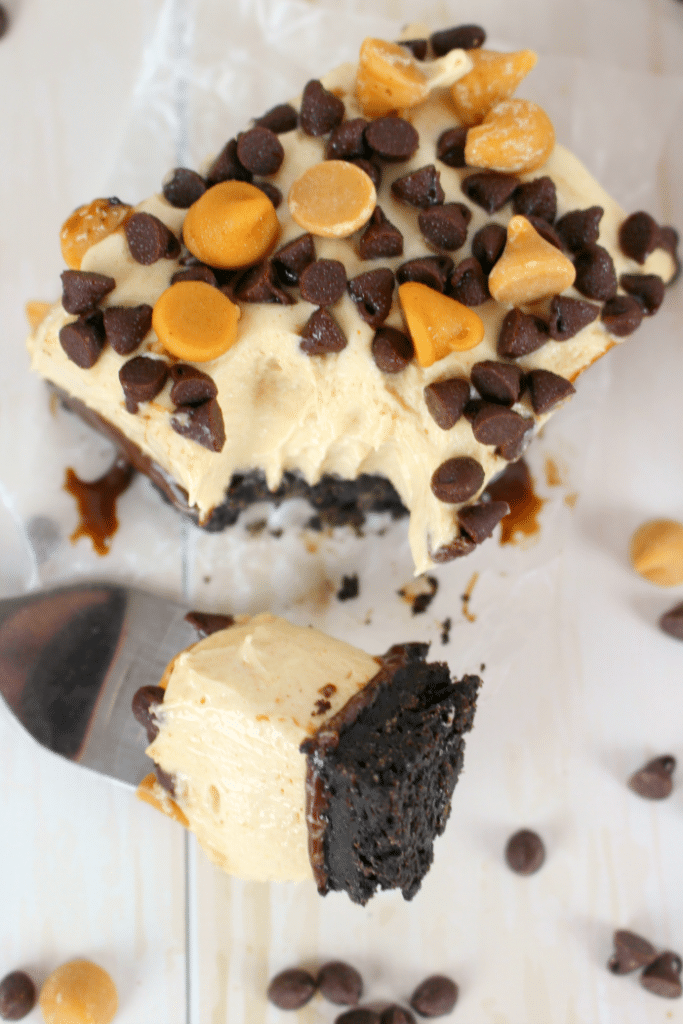
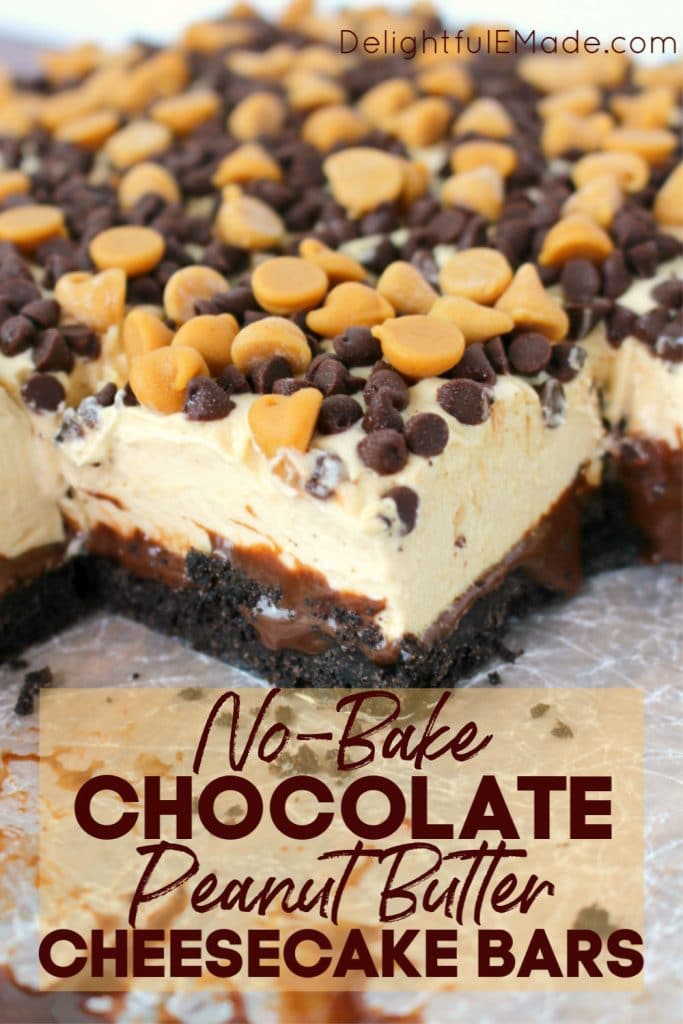
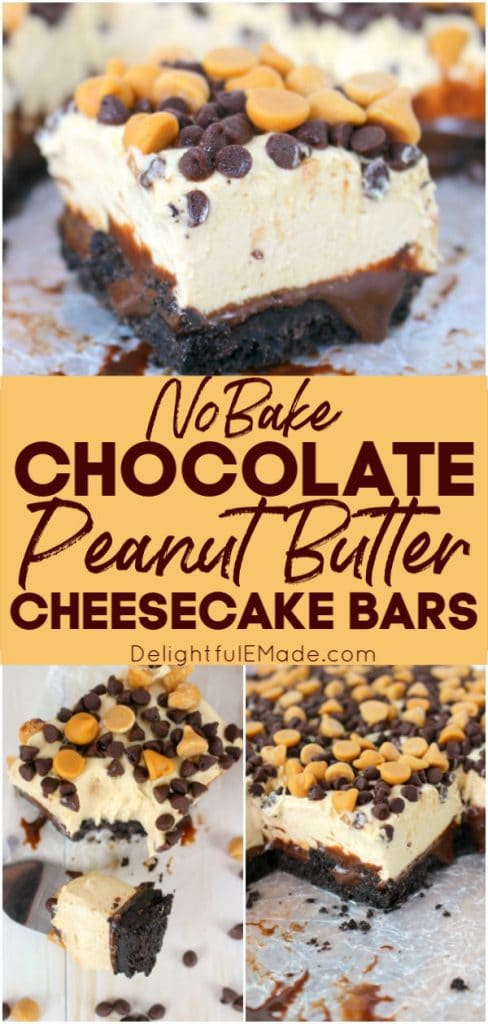
These Chocolate Peanut Butter Cheesecake Bars are a chocolate and peanut butter lovers dream! Made with an OREO crust, hot fudge, dreamy peanut butter mousse and topped with peanut butter chips, these no bake cheesecake bars are cool, creamy and completely delicious!
This post may contain affiliate links. Delightful E Made is a participant in the Amazon Services LLC Associates Program, an affiliate advertising program designed to provide a means for us to earn fees by linking to Amazon.com and affiliated sites.
If you love the combination of chocolate and peanut butter, this no bake cheesecake recipe is for you!
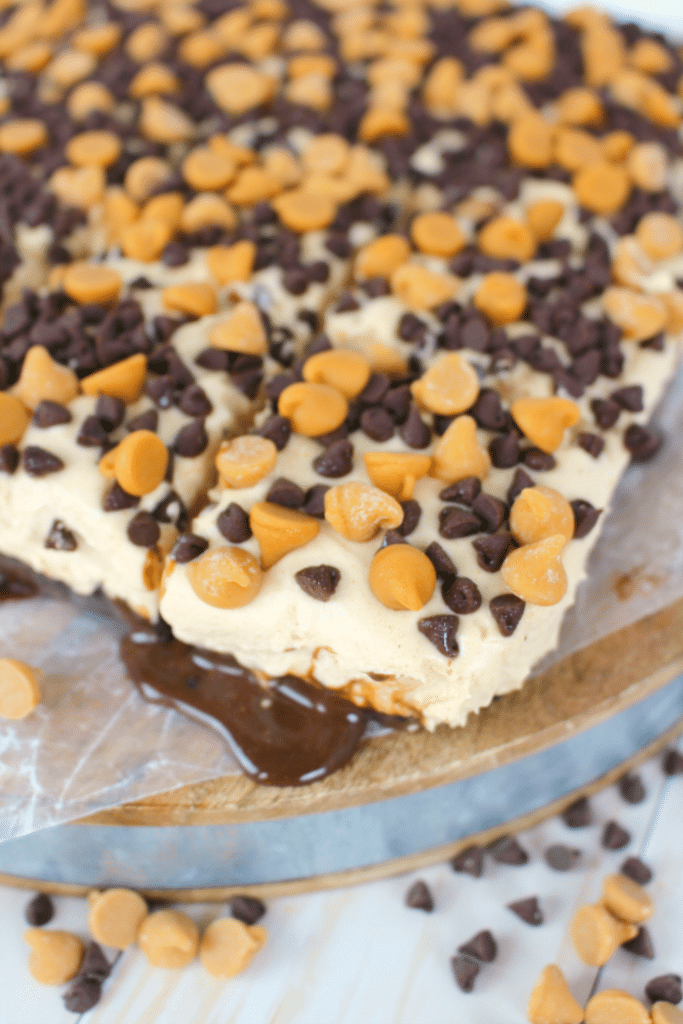
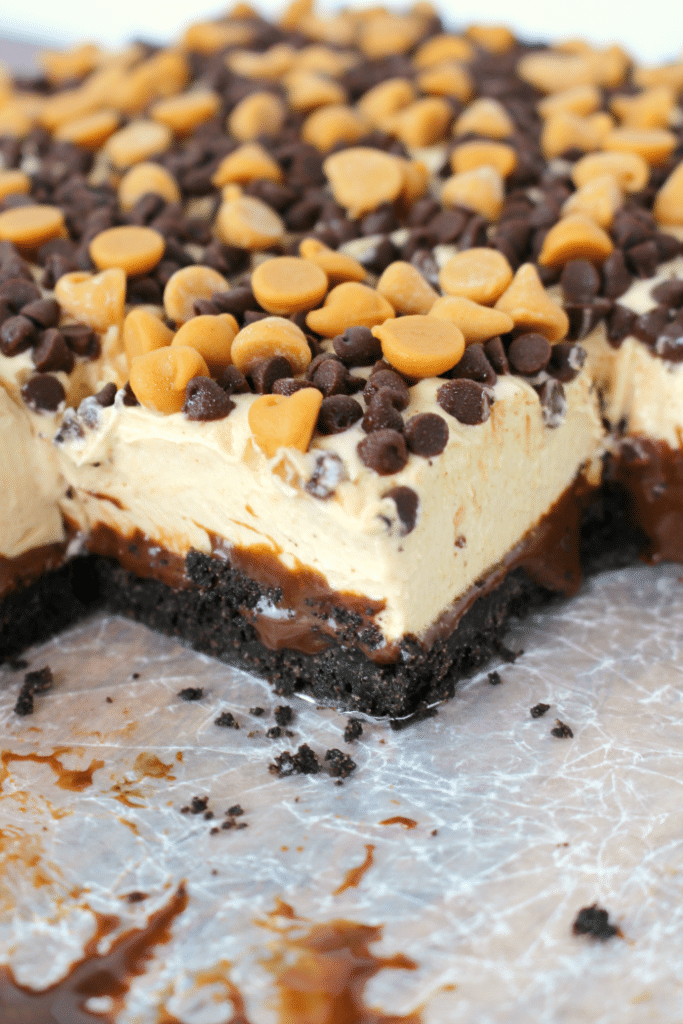
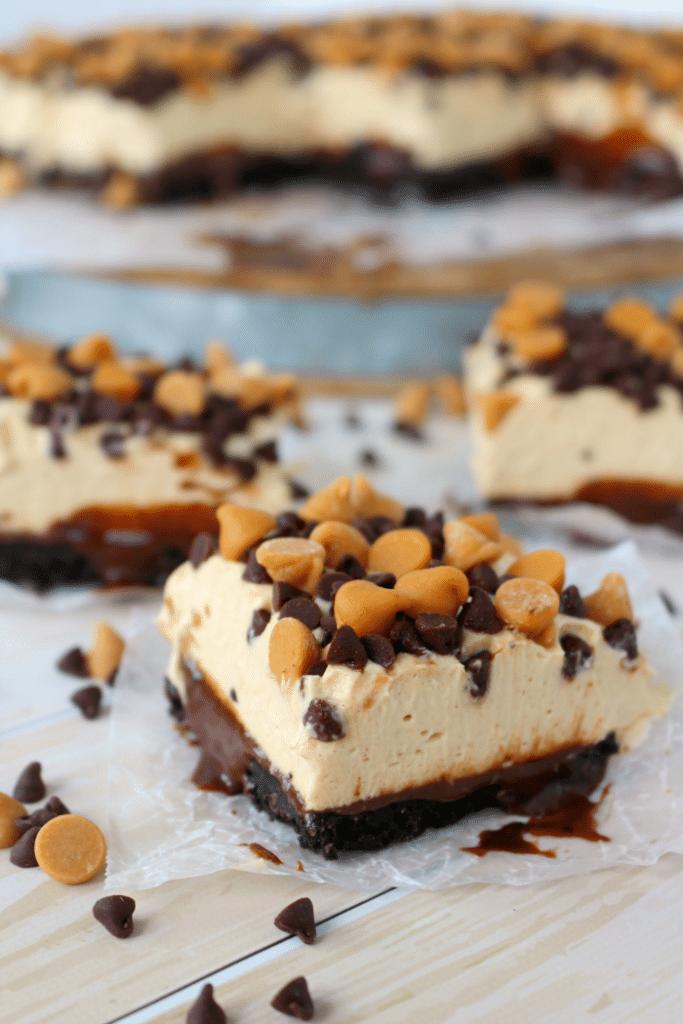
Made with an OREO cookie crust, a layer of hot fudge and a creamy peanut butter cheesecake filling, this no bake dessert is incredible. Topped with chocolate chips and peanut butter chips, this becomes the ultimate peanut butter chocolate dessert.
In this post I’ll show you what you need to create this no bake dessert, how to layer the dessert, and the best ways to store and serve.
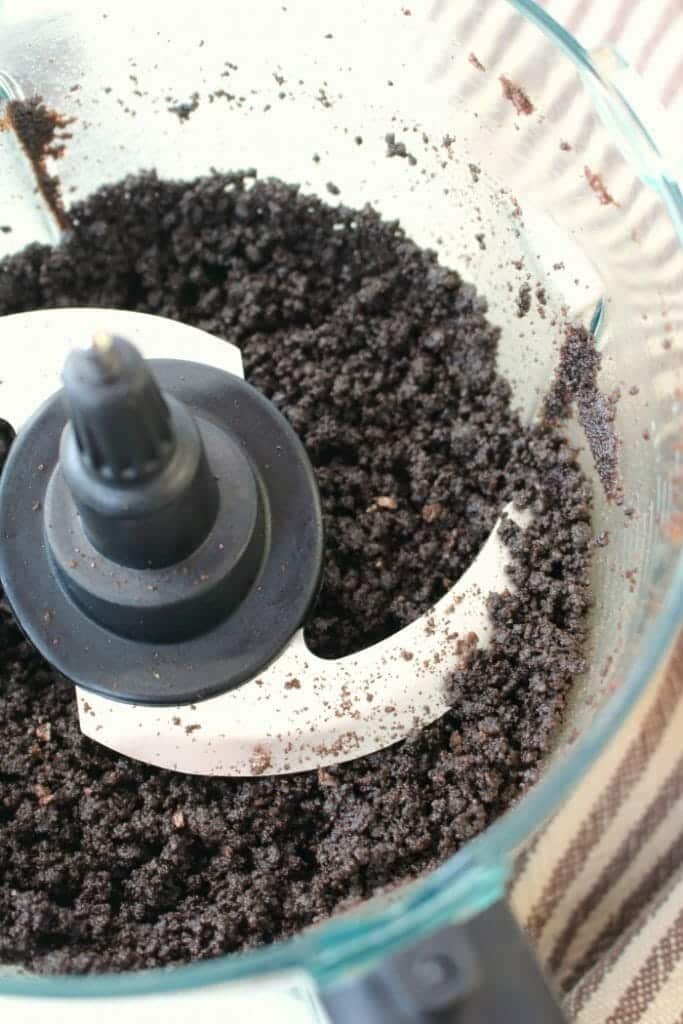
How do I make an OREO crust?
This no bake cheesecake begins with an OREO crust layer. To make an OREO crust, start with adding OREO cookies to a food processor. Pulse in the processor until the cookies become fine crumbs. Add in the melted butter.
Turn out the crumb mixture into the pan. Press the crumbs firmly into the bottom of the pan, using the bottom of a cup. Pour on the hot fudge topping and spread evenly over the crust. Chill in the refrigerator to help the crust become firm.
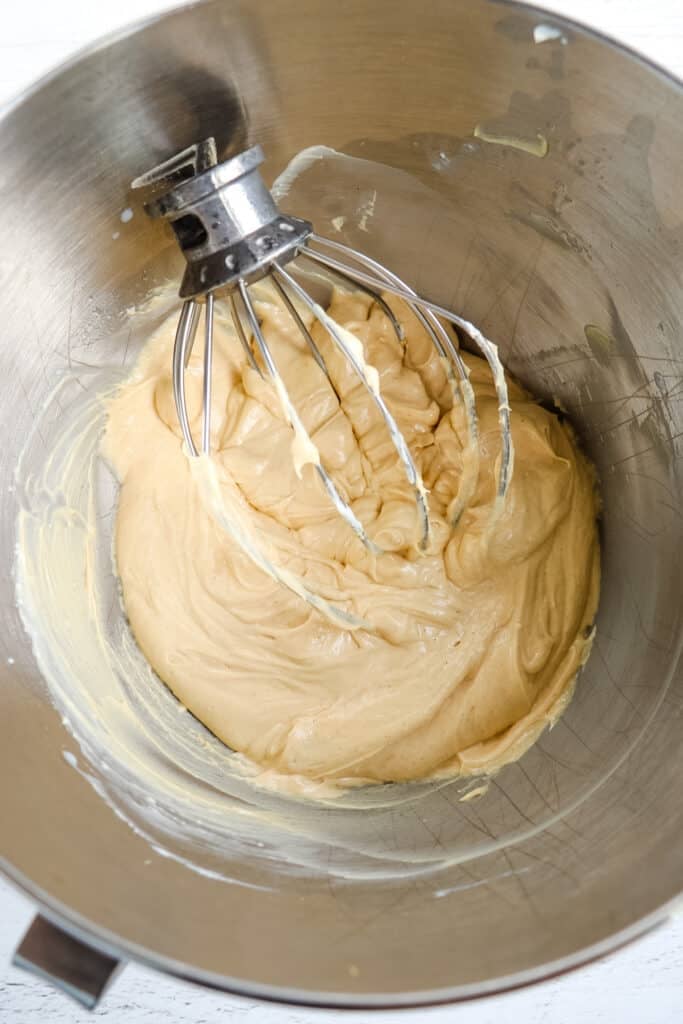
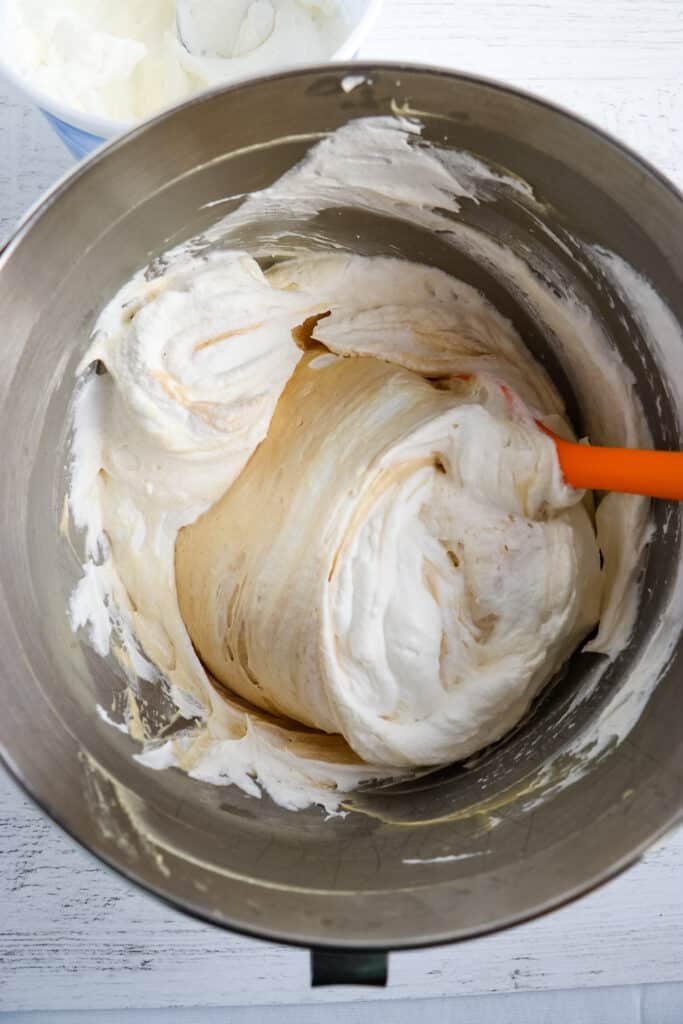
How do I make no bake cheesecake filling?
To a mixing bowl, add the room temperature cream cheese and powdered sugar. Beat until creamy. Add the peanut butter and mix until completely combined. Mixture will be thick.
Slowly add in the milk, and mix until smooth, making sure to scrape down the sides of the bowl.
Add in the thawed whipped topping, a few scoops at a time until combined. Mixture will be light and creamy. Spread onto the top of the hot fudge covered crust.
Want to use homemade whipped cream instead of whipped topping? Try my homemade Cool Whip recipe, which is a great stabilized whipped cream option.
Toppings for No Bake Peanut Butter Cheesecake:
There are several options for toppings on this peanut butter no bake cheesecake. Here are a few ideas that would be delicious:
- Peanut Butter Chips
- Chocolate Chips
- Peanut Butter Cups – mini or medium-sized cut into pieces.
- Chopped salted peanuts
- Chocolate shavings
- OREO pieces
- Nutter Butter Cookies
How do store no bake cheesecake bars?
Because of the cream cheese filling, these cheesecake bars need to stay refrigerated. Store the individual slices in an airtight container in the refrigerator. You can also store in the pan, covered with plastic wrap.
When should I serve no bake cheesecake bars?
If you’re serving no bake cheesecake bars at a party, keep refrigerated until ready to serve. They can also be sliced in advance.
These bars are great to serve for cookouts, potlucks and picnics. It’s also simple enough for a casual dessert to enjoy right at home. My son and I enjoyed a slice together after baseball practice last night, which was a fantastic way to end the day.
What type of peanut butter should I use for these chocolate peanut butter cheesecake bars?
I recommend a good quality, creamy peanut butter. Steer clear of any peanut butters that contain canola, soy or vegetable oils. Creamy peanut butter tends to blend the best with the other ingredients and renders a fluffy, creamy mousse-like consistency. I wouldn’t recommend chunky peanut butter.
How long do no bake cheesecake bars last?
When kept refrigerated and covered or sealed in an air-tight container, no bake cheesecake bars will last up to one week.
What other cookies can I use for a crust in these chocolate peanut butter cheesecake bars?
If you don’t want to use OREO’s, Nutter Butters would make a great crust in these chocolate peanut butter cheesecake bars.
If you love no bake cheesecake bars, then you’ve gotta check these out:
- No Bake Pumpkin Pie
- No Bake Peanut Butter Pie
- Lemon Blueberry Cheesecake Bars
- No Bake OREO Cheesecake Bars
- No Bake Pumpkin Cheesecake Bars
- Eggnog Cheesecake Bars
- No Bake Pumpkin Cheesecake Bars
- No Bake Cherry Cheesecake
- No Bake Lemon Cheesecake Bars
- No Bake Chocolate Cheesecake
If you’re a chocolate and peanut butter lover, then these recipes are for you:
- Chocolate Peanut Butter Cake
- Chocolate Peanut Butter Rice Krispie Treats
- Chocolate Dipped Ritz Cracker Cookies
- Peanut Butter Brownie Ice Cream Cake
- Chocolate Chip Peanut Butter Banana Bread
- Chocolate Dipped Peanut Butter Chocolate Chip Cookies
- Peanut Butter Chex Party Mix
- Peanut Butter Chocolate Fudge
Here’s how these delicious Chocolate Peanut Butter Cheesecake Bars come together:
Want to Save This Recipe?
Enter your email & I’ll send it to your inbox. Plus, get great new recipes from me every week!
By submitting this form, you consent to receive emails from Delightful E Made.
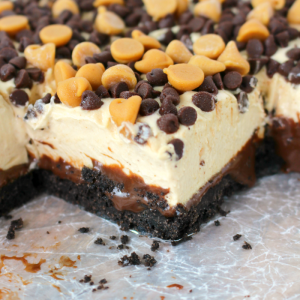
No Bake Peanut Butter Cheesecake Bars
Equipment
- Stand Mixer This KitchenAid Stand Mixer is a must-have tool for any home baker!
- Rubber Scraper These Cuisinart rubber scraper spatulas are fantastic for fillings, batters, and so much more!
- Food Processor This Ninja Pro Food Processor is easy to use and great for quickly prepping ingredients.
Ingredients
Crust:
- 25 OREO Cookies or any other chocolate sandwich cookie
- 5 Tbsp. butter melted
- 1/2 cup hot fudge ice cream topping
Cheesecake Filling:
- 1 (8 oz. pkg.) cream cheese room temperature
- 1/2 cup powdered sugar
- 2/3 cup creamy peanut butter good quality
- 1/2 cup milk
- 1 (8 oz. carton) whipped topping like Cool Whip, thawed
Toppings:
- 1/2 cup mini chocolate chips
- 1/2 cup peanut butter chips
Instructions
- Lightly spray a 9×9" pan with non-stick baking spray. Set aside.
- In a food processor, crush the chocolate cookies. Add the melted butter, and pulse a few more times in the processor to combine. Pour the crumb mixture into the 9×9 pan, and press firmly and evenly into the bottom of the pan. Refrigerate or freeze the crumbs, just to get the crust to set.
- To the cool crust, pour the hot fudge sauce and spread evenly. Refrigerate while you mix the filling.
- Using a hand or stand mixer, begin mixing the peanut butter filling. To a mixing bowl, add the room temperature cream cheese and powdered sugar. Beat until creamy. Add the peanut butter and mix until completely combined. Mixture will be thick.
- Slowly add in the milk, and mix until smooth, making sure to scrape down the sides of the bowl.
- Lastly, add in the thawed whipped topping, a few scoops at a time until combined. Mixture will be light and creamy. Spread onto the top of the hot fudge covered crust. Top with the chocolate and peanut butter chips.
- Cover with plastic wrap and refrigerate for at least two hours for the filling to set. Slice into 16 square bars.
- Keep any leftovers refrigerated for up to one week.
OMG !!! Erin these bars are mouth=watering!!
All my favorites in one bar 🙂
Get outta here with this goodness! I almost want to just make this how it is and not alter it to be skinnier it looks so good haha! Thanks girl!!
Ashleigh @ teamnevergoingback.com
Oh my word!! So incredible! Erin, my husband’s grandpa managed a small grocery store in Ohio growing up and he as paid in candy as well. He choose random things–I am with you chocolate and peanut butter is where it is at.
Your bars looking absolutely DECADENT-Erin! Thank you so much for sharing at The Wonderful Wednesday Blog Hop! PINNING and SHARING!!
These look like a little slice of heaven! Pinning for sure. I can’t wait to try these.
I know these will be a fave at our house~ Looks delish and thanks for sharing on Throwback Thursday!
Mollie
These look sinfully delicious. I’m confident one little bite would curb a sweet tooth for a long time.
What are the nutrition facts for this snack?
Do you need to heat up the hot fudge?
Do you heat up the fudge?
If it is at room temperature, you probably don’t need to – it should spready/pour pretty easily. However, if you’ve stored your hot fudge in the refrigerator (I do this if I have an open jar/container) then microwave the cool fudge for 20-30 seconds, just to get it to a consistency that it is easy to spread/pour. Enjoy! ~Erin
Do you have to seperate the oreo cookie from the cream?
These chocolate peanut butter mousse bars look fabulous. I am such a peanut butter lover and the chocolate is just a bonus. Thank you for sharing on Happiness is Homemade link party. Shared and pinned.
Oh wow, these sound so yummy! I love chocolate and peanut butter together!
Oh my gosh! These look ridiculously delicious!
These look divine! Would love if you share at our first Reader tip Tuesday: http://www.jodiefitz.com/2017/08/01/reader-tip-tuesday-along-new-food-craft-party/#comment-227470
It’s open all week as I intro it. Hope to see you & your delicious dessert for a visit 🙂
Oh my! This looks Soooo yummy! Thanks for sharing at Over the Moon.
These look so good! Might have to make some tonight!
Thanks for sharing at the What’s for Dinner Link up! Have a fabulous weekend!
This is why we make up our own words like deluscious! Sharing! #merrymonday
Ohhhhhhhh yummmmmmmmmmm
Wow, this looks amazing. Can’t go wrong with chocolate in my book. Thanks for sharing your wonderful posts at Over The Moon Party.
See you next week.
Hugs,
Bev
can you use microwave?
These mousse bars look delicious!! pinned!
lovely recipe. i´ll try it.
Those look so good!! I think I gained weight just looking at them. =) Thanks for stopping by #HomeMattersParty hope you will join us again this Friday.
Omg, these look absolutely amazing! My hubby would love me even more if I made these for him!!
Can these be made with real whipped cream?