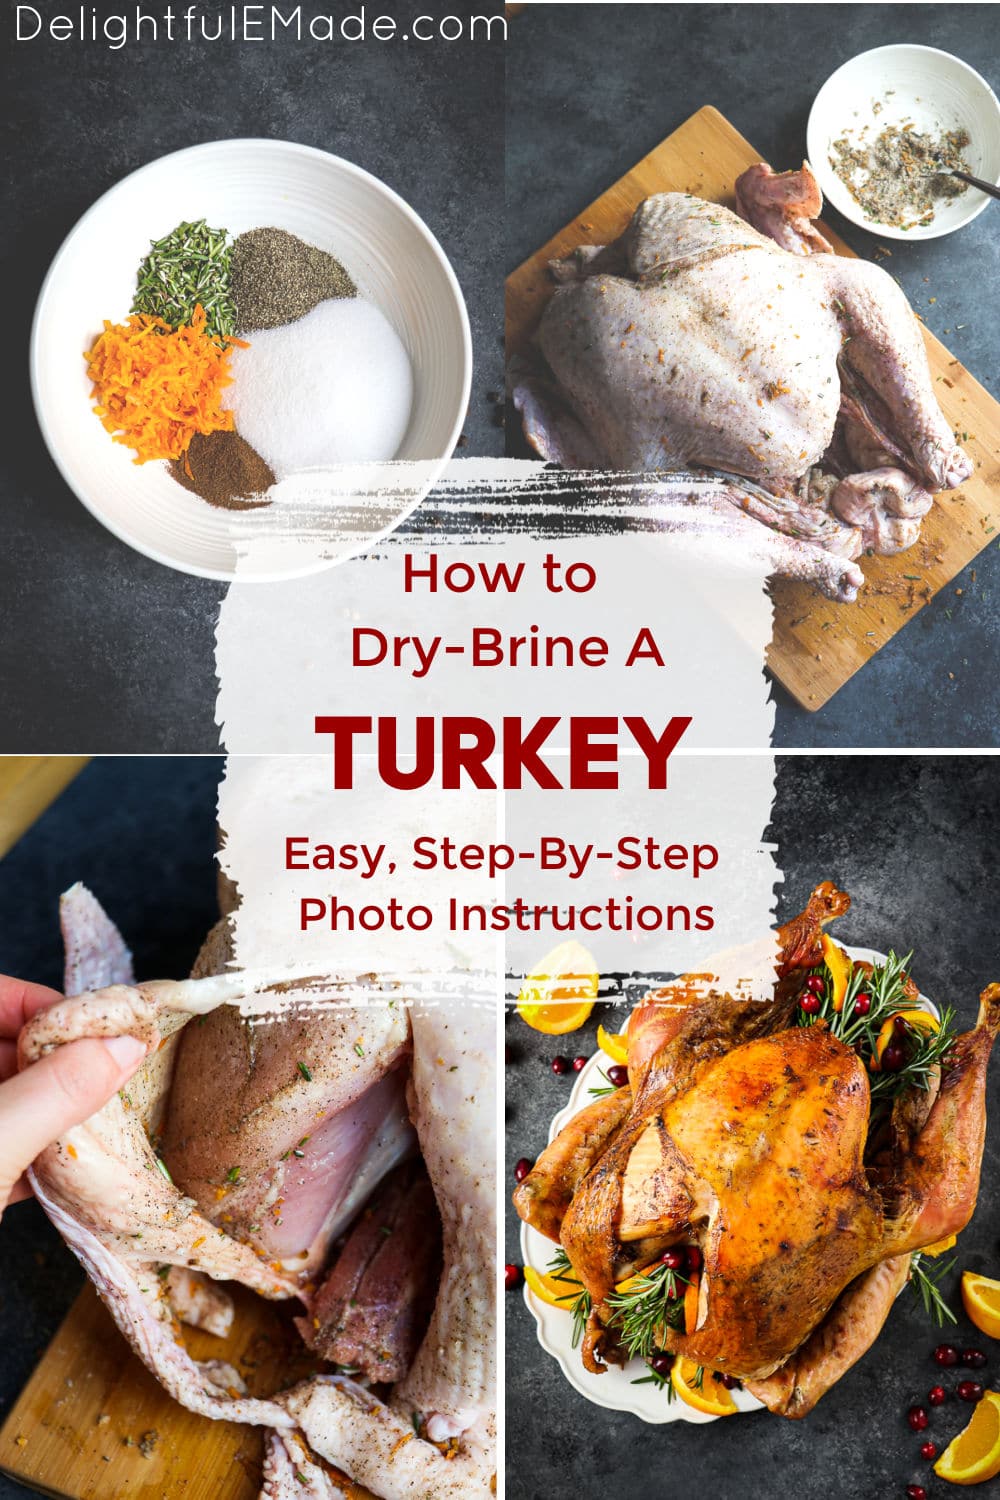
Want to know how to get the most juicy, flavorful turkey for your Thanksgiving for holiday dinner? This simple method for How to Dry Brine a Turkey is easy and a great way to add additional flavor to your bird! My Dry Brine Turkey Recipe includes rosemary, citrus and allspice – once you brine your turkey with this recipe, you’ll never go back!
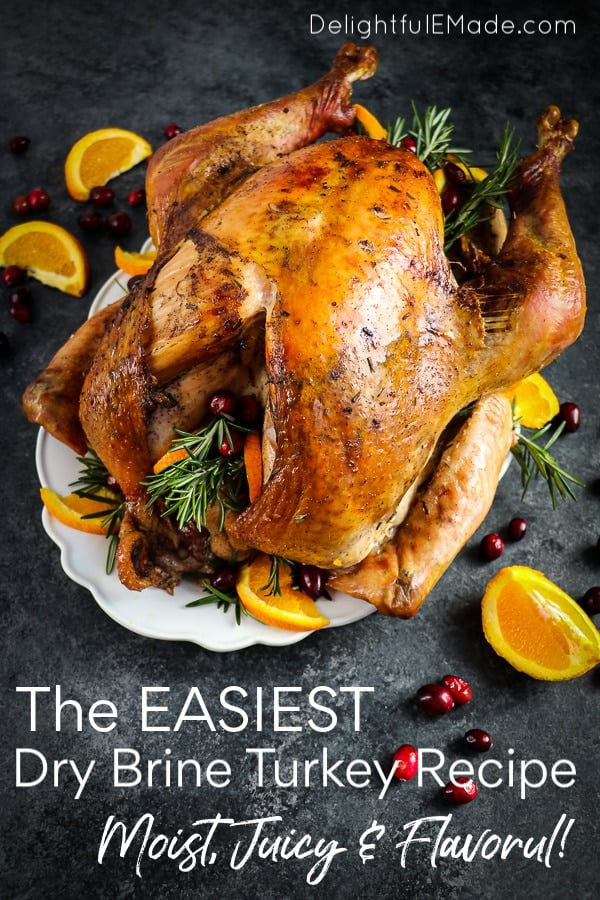
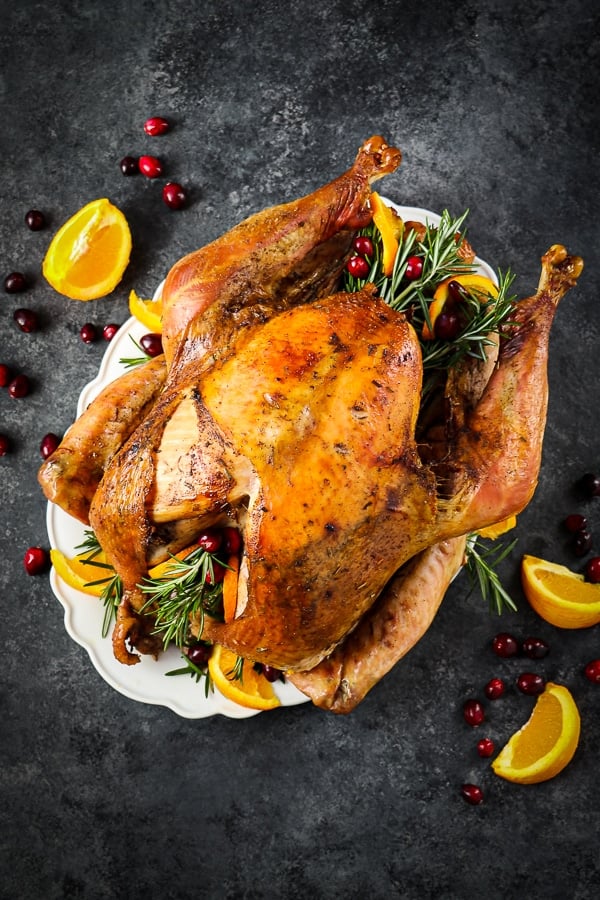
This Dry Brine Turkey Recipe is the PERFECT way to get your most Moist & Juicy Thanksgiving Turkey!
For years and years I’ve been traditionally wet brining my Thanksgiving Turkey. It requires lots of water and often results in a big mess. Now that I’ve tried this much more simple Dry Brine Turkey Recipe, I may never go back to the wet brine again!
So much more simple than the buckets and gallons of water, this method for How to Dry Brine a Turkey only requires a roasting pan, some plastic wrap, and your hands to rub in the salt brine – that’s it. Yep – it’s that simple!
You put your turkey right into the pan it cooks in on Thanksgiving day and refrigerate. Let the salt and spices of the brine works its magic, and you’ll have the most delicious Thanksgiving turkey, ever!! Maybe even better than your Grandma’s. (shhhhhh, don’t tell Grandma!)
Here are the Simple Steps for How to Dry Brine A Turkey
Step 1: Thaw your turkey
If you’ve purchased a frozen turkey, make sure you allow time for your turkey to adequately defrost in the refrigerator. I would recommend starting the thaw of your turkey a week before Thanksgiving, so you have adequate time to brine as well.
How long does it take to thaw a turkey?
Allow 24 hours for every 4-5 pounds. If you’re math impaired, no worries – Here are some quick conversions:
- 4-12 lbs: 1-3 days of thawing
- 12-16 lbs: 3-4 days of thawing
- 17-20 lbs: 4-5 days of thawing
Step 2: Create your Dry Brine
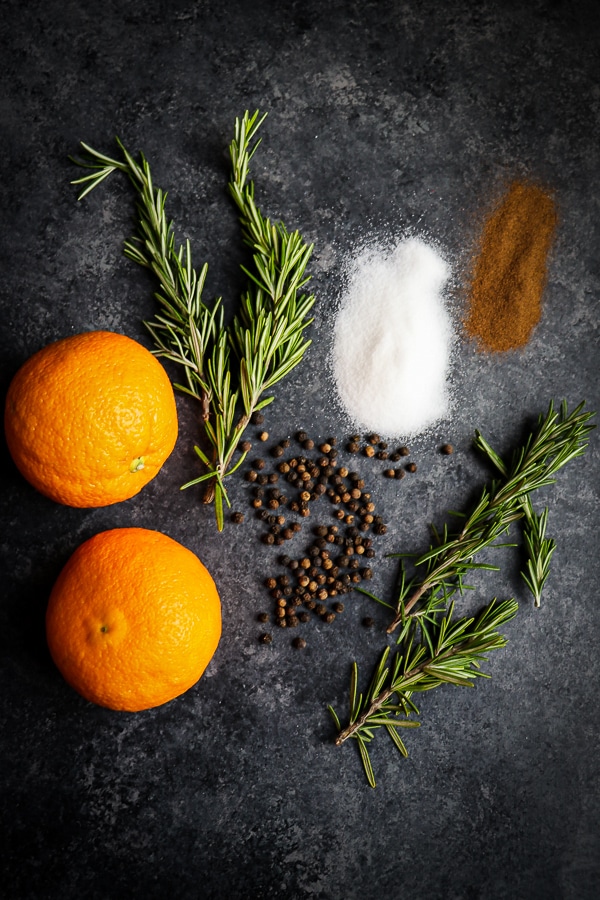
The primary ingredient for any brine is salt. The same holds true for this brine. The ingredients for this Dry Brine Turkey Recipe are as follows:
- Salt (simple table salt works fine. You can also use kosher salt, coarse salt and sea salt.)
- Ground Pepper
- Allspice
- Minced fresh rosemary
- Orange zest – use fresh oranges and a grater or Microplane to grate off the outer orange rind.
Looking for turkey breast seasoning? Check out my post for Slow Cooker Turkey Breast where I provide a simple, yet super flavorful recipe for seasoning a turkey breast.
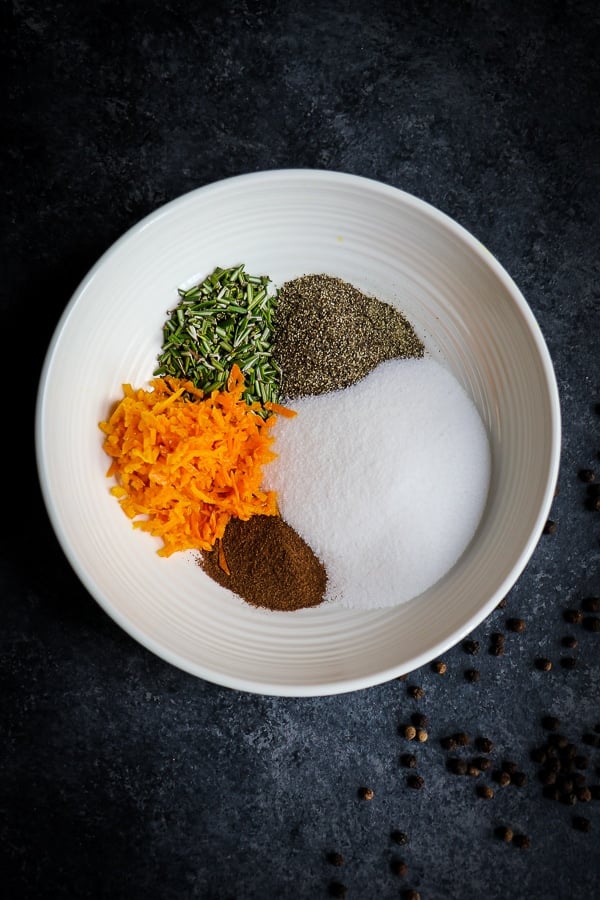
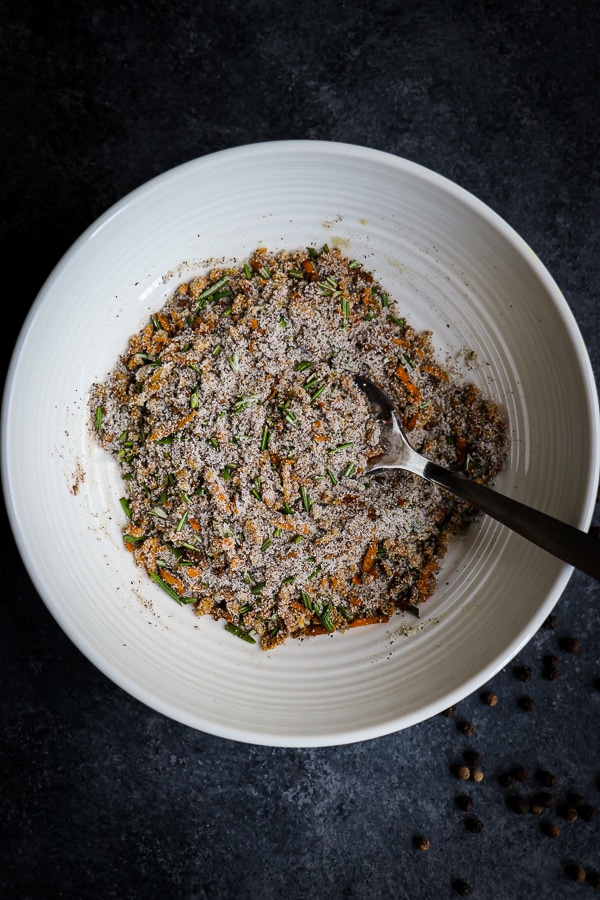
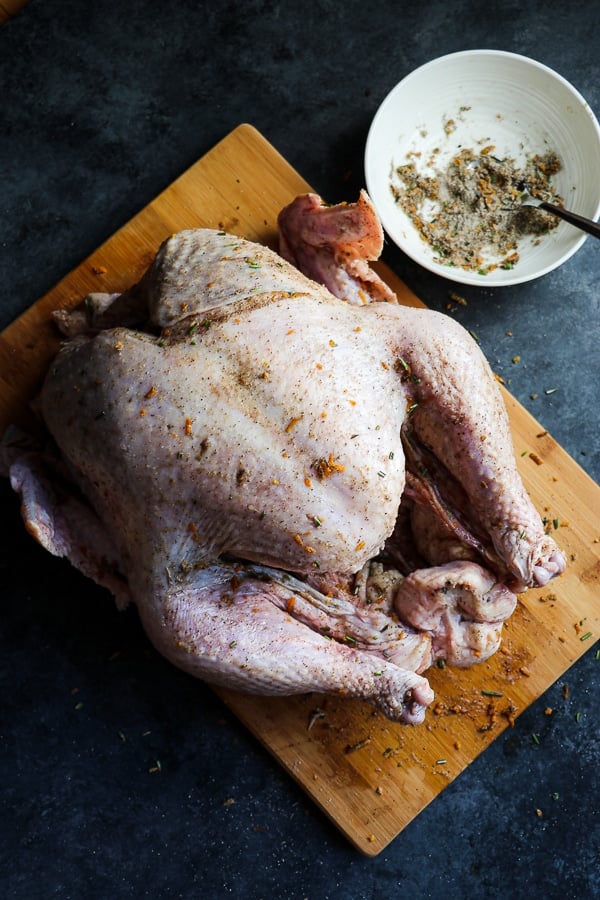
Step 3: Stir the dry brine together
Mix the brine ingredients together with a simple stir.
Step 4: Rub the turkey with the brine
Where do I put the dry brine?
- First, start with the outer skin, and sure you get the top breast area, as well as the legs and wings. Be generous!
- Next, add a couple teaspoons of the brine mix into the inside cavity. This area will benefit from seasoning.
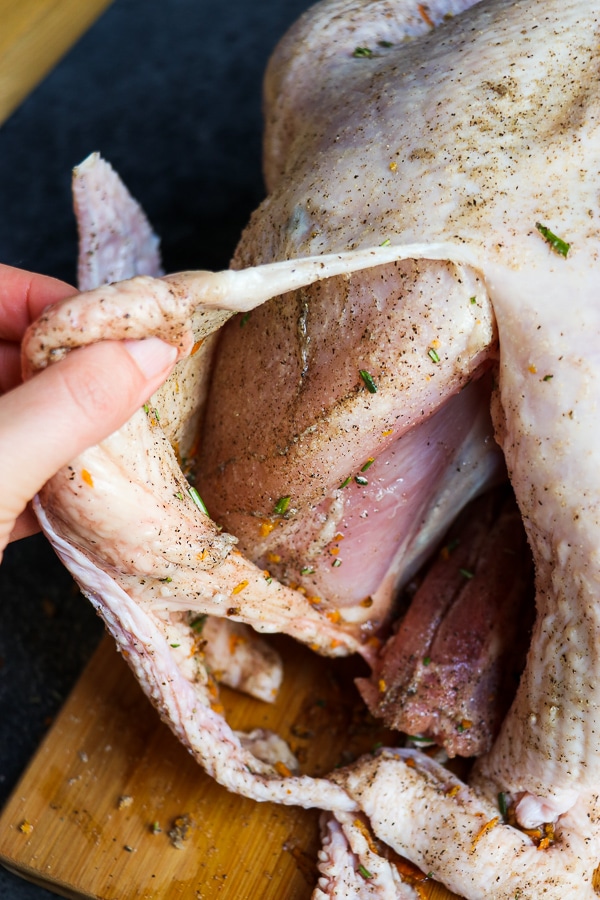
- Lastly, reserve some brine to add between the skin and meat. Stretch the skin membranes, providing a gap between the muscle and the top skin. (see photo below) Massage the brine into this area. This will require getting a little dirty, but your efforts will be well worth it. This will season the meat exceptionally well. Once seasoned, place the skin back to where it was.
- Pro Tip: Don’t remove the skin! If the skin of your turkey tears (like mine did – see photos), do your best to keep the skin in place. The skin provides a moisture barrier keeping the meat juicy. Really – PLEASE don’t remove the skin. If you do, your turkey will be terribly dry!
Will the turkey be too salty?
Nope. Don’t worry about that. By the time the turkey cooks, the salt and seasoning will penetrate the meat evenly. It will also tenderize the meat slightly.
Note: You might not use all of the brine. I’ve included enough brine in this recipe for a 20+lb. turkey, so if you have a smaller bird, you will likely have extra. As long as you have a nice, even coating on all surfaces of your turkey, you’re good.
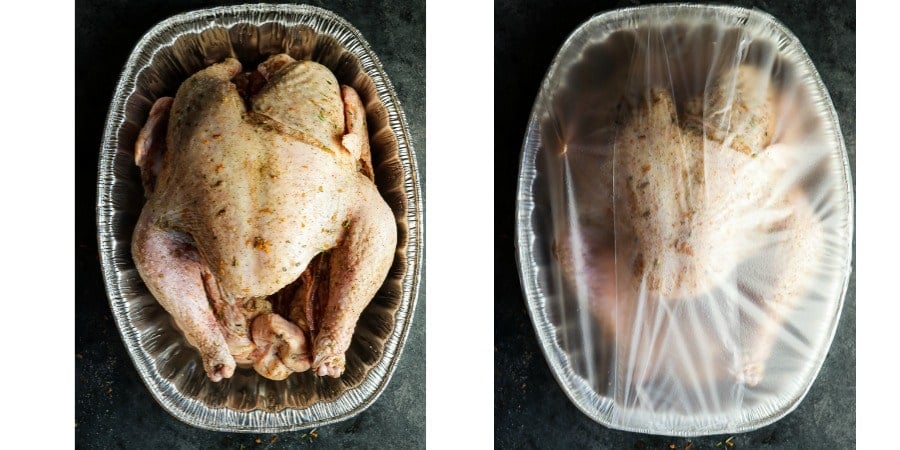
Step 4: Refrigerate the Brined Turkey
Once the bird is evenly coated, place the turkey breast-side up right into the roasting pan that you’ll be using when ready to cook. I’ve discovered this is the easiest method to refrigerate. Wrap the top with Press-and-Seal Wrap and place in your refrigerator.
How long to Dry Brine A Turkey?
You can leave the the turkey to brine in your refrigerator for 1-3 days. (Dry brining just means the turkey sits in your refrigerator with the salt and spices on it.) I only did my brine overnight for a little less than 24 hours, and it was wonderfully seasoned and juicy. The longer you’re able to brine a turkey, the more seasoned it will become. Three days is ideal.
Do I need to rinse or dry the turkey before roasting it in the oven?
No. Once you’re ready to roast, grill or deep fry your turkey, it will be ready to go for you. No extra rinsing or patting dry with paper towels. Simply remove the plastic wrap, and it is ready to cook. Tuck the wings under the bottom side of the turkey, and place in the oven for roasting.
What do I need to roast a turkey?
Along with your oven (obviously!), here are the tools you’ll need to roast a turkey:
- A roasting pan. I am now a loyal user of disposable aluminum roasting pans! I actually got rid of my big, clunky roasting pan. I only used it for Thanksgiving and Christmas and it was VERY hard to clean. You can brine your turkey right in the aluminum pan, and best of all, you don’t have to clean it. You also don’t have to store a huge roasting pan, either!
- A meat thermometer. Don’t rely on the little pop-up plastic one that comes already in your frozen turkey. It’s not reliable. I absolutely LOVE my Thermapen ONE Instant Read Digital Meat Thermometer. (I use it mainly for grilling, but it’s perfect for testing your turkey as well.) It’s the most accurate way to tell when your turkey is done. I also use this to test my Orange Glazed Spiral Ham.
- Aluminum Foil. You need foil on hand to cover the turkey in the last several minutes of roasting (see below). Once it comes out of the oven, be sure to keep the turkey covered with the foil before carving. I like Reynolds Wrap Heavy Duty Aluminum Foil.

Thermapen ONE Instant Read Digital Thermometer
This is my go-to tool for grilling and roasting! With a Thermapen there’s no guessing if or when the meat is done. The precise temperature will provide you with meat that is perfectly cooked, juicy and delicious EVERY time!

How long do I cook a turkey in the oven?
The answer depends on the size/weight of your turkey. You should estimate 13 minutes per pound of turkey at 350 degrees. For example, my turkey was 18 lbs. I roasted the turkey for approximately 3.5 – 4 hours. Using a meat or instant read thermometer, the turkey is done when the internal temperature reaches 165 degrees. I tested the turkey in both the breast area and thigh area to ensure doneness.
Pro Tip: Make sure to not overcook your turkey – this is how it becomes dry! With a meat or instant read thermometer, take the internal temperature of the turkey when it is nearly 3/4 of the way done (based on your original time calculation.) If the internal temperature reads 165 degrees, the turkey is done. Cover with foil and let it rest for 15-30 minutes before carving.
Do I need to cover the turkey while it’s in the oven?
Not necessarily. I tend to leave mine uncovered so the skin browns. If you notice that the skin is getting overly dark, cover the bird with foil for the remainder of the cooking time.
Do I need to baste the turkey?
No. Some people swear by it, but over the years of cooking dozens of turkeys, I’ve never noticed a difference.
The best way to add flavor and moisture to your turkey is 1)brining and 2) not overcooking. If you overcook your turkey by leaving it in the oven too long, it will be very dry.
You’re turkey game is strong! Don’t forget the Thanksgiving sides to go with your Turkey – I’ve got some great ones here:
- Boursin Mashed Potatoes
- Balsamic Honey Brussels Sprouts
- Sweet Potato Casserole with Marshmallows and Pecans
- Paula Deen’s Corn Casserole
- Hasselback Sweet Potatoes with Brown Sugar Pecan Crumble
- Homemade Cranberry Sauce with Apricots & Oranges
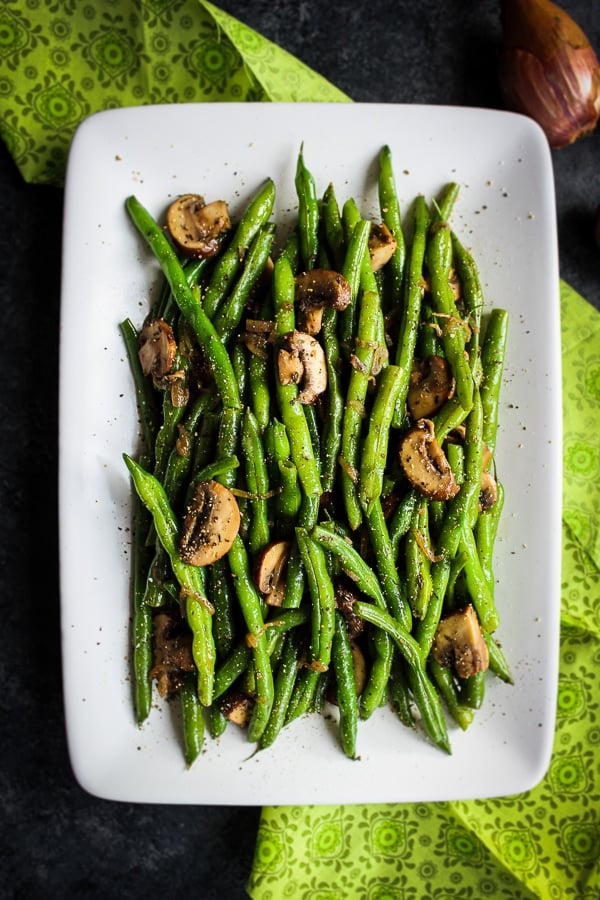
- Healthy Green Bean Casserole
- Parmesan Mashed Potatoes
- Everything Thanksgiving Stuffing
- Copycat Ruth’s Chris Sweet Potato Casserole Recipe
- Orange Glazed Green Beans with Cranberries by Cupcakes and Kale Chips
- What to Serve with Mashed Potatoes
Could you use some Thanksgiving desserts to complete your holiday meal? Check these out:
- Pumpkin Caramel Cream Cheese Poke Cake
- Pumpkin Meringue Pie
- Dark Chocolate Pecan Pie
- Coconut Cream Pie
- Pumpkin Pie Tarts
- Apple Pie Tarts
- Pumpkin Sheet Cake

If you’re looking for a traditional water brine, I’ve got an easy tutorial for that, too!

Check out my post for 3 Steps to a Moist Delicious Turkey – How to Water Brine a Turkey along with my recipe for Apple Cider Turkey Brine or my Citrus Herb Turkey Brine.
Here’s my Dry Brine Turkey Recipe:
Want to Save This Recipe?
Enter your email & I’ll send it to your inbox. Plus, get great new recipes from me every week!
By submitting this form, you consent to receive emails from Delightful E Made.
Easy Dry Brine Turkey Recipe with Rosemary

Equipment
- Microplane Ultimate Citrus Tool Ideal for zesting, grating and juicing lemons, limes and oranges!
- Disposable Aluminum Turkey Roasting Pan Excellent for cooking a turkey during the holidays. Makes clean-up a breeze!
- Press N Seal Plastic Food Wrap Ideal for wrapping the turkey and keeping it well sealed in the pan.
Ingredients
- 1/4 cup Kosher salt
- 1 Tablespoons fresh rosemary finely diced
- 1 Tablespoon ground black pepper
- 1 1/2 Tablespoons orange rind grated or finely minced
- 1/2 teaspoon allspice
Instructions
- In a medium bowl, add all ingredients. Stir together well to combine.
- On a fully thawed or fresh turkey, spread the brine evenly over the top skin of the turkey, making sure to coat the breasts, legs and wings well.
- Sprinkle 1-2 tsp. of the brine mixture in the inside cavity, and rub evenly to disperse.
- Gently pulling the skin away from the meat, place about 1-2 teaspoons of the brine on each of the breasts. Replace the skin on the turkey. Do the same for the legs.
- Roast the turkey at 350 degrees for 13 minutes per pound of turkey. Test with a meat or instant read thermometer in the deep breast and thigh areas. Once the internal temperature of the turkey reads 165 degrees, the turkey is done.
- Remove from oven, over with foil and let rest for 15-30 minutes before carving.
Notes
Nutrition

I used to use a wet brine, it was a big mess. This is a great instructional post.
I need all the turkey help I can get! Great instructions…Thanks for linking up to Best of the Weekend. Your post was one of my features this week. I will also be pinning and sharing on Instagram stories this weekend. Thanks again for joining us and have a great weekend!
Shelley
Thank you for this recipe, I am going to try it, but I have a question. Will it be okay to use a roasting bag instead of foil?
Yes, a roasting bag will work well. It’s a good tool to help keep the turkey moist and juicy. Good luck and enjoy! -Erin
Hello, would you put rosemary and orange slices in the cavity before cooking?
Hi Jennifer!
I know it’s probably not a pleasant thing 🙂 however, just open up the cavity (making sure you’ve removed the neck & giblets) and place the oranges and rosemary into the cavity.
Good luck and Happy Thanksgiving!
-Erin
Thank you for changing the way I prepare turkey. Such a simple combination of flavors made for a very tasty turkey that was enjoyed by all. Definitely keeping this recipe around for the future.
Hosted my first Thanksgiving this year. I had 18 guests and a 22.5lb turkey. I knew I wanted to try a dry brine, and being my first solo turkey I was SUPER nervous. Well I whipped up a big batch of this and coated every nook and cranny of that bad boy, inside and out, and under every bit of skin I could get to. Let it rest for three nights. Thanksgiving morning I just added a few slices of butter under the skin, and got that bird in the oven. I have never eaten a more juicy piece of turkey in my life. I’m not a big turkey person, but this bird rocked. It was so moist, the white meat came out like a rotisserie chicken. I was so darn proud of my first bird, and this will absolutely be how I prep every turkey going forward. Thank you times a million. This made my first thanksgiving a huge success!