These Easy Cheesy Breadsticks are gonna be your soup’s BFF! This super simple recipe for cheesy garlic breadsticks are the perfect side for just about any meal, especially soup and salad!
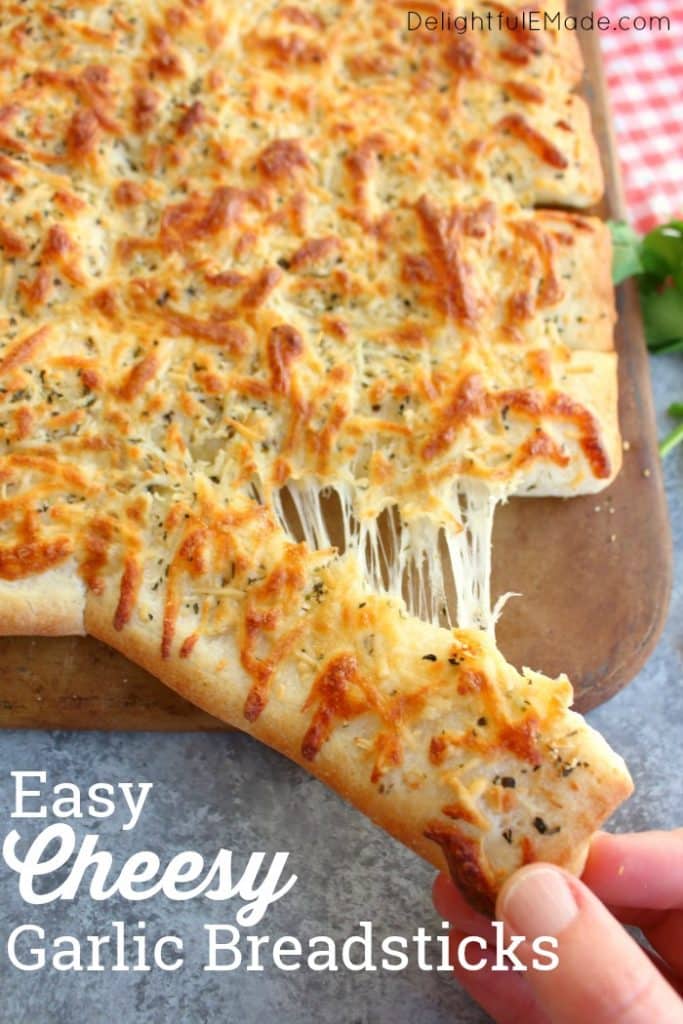
Easy Cheesy Breadsticks – the perfect soup & salad side!
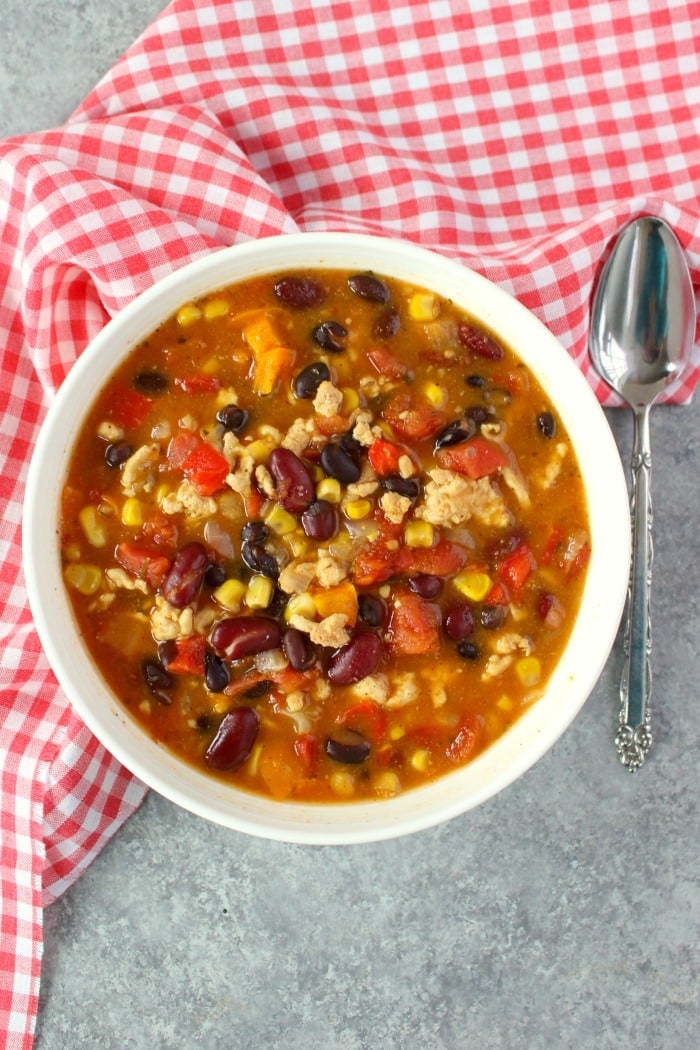
With the first day of winter just a few days away, I always crave a hearty bowl of soup and some of these delicious, Easy Cheesy Breadsticks for dipping.
When it gets dark by 5pm, it only feels right to have a hearty, delicious bowl of soup and bread to go with it. These delicious cheesy garlic breadsticks have been my go-to recipe for years!
Like this recipe? Be sure to pin it to your BREAD or SIDE DISH board!
Follow DelightfulEMade on Pinterest!
These breadsticks are super simple to make, and because they start with a simple refrigerated, store-bought pizza crust, they can be made in the same time that your soup cooks.
Not only are these cheesy garlic breadsticks great with soup, they’re absolutely delicious with all of your favorite pasta dishes. Pair with a salad, and you’ve got a fantastic dinner idea ready to roll any night of the week!
Here’s how these super Easy Cheesy Breadsticks come together:
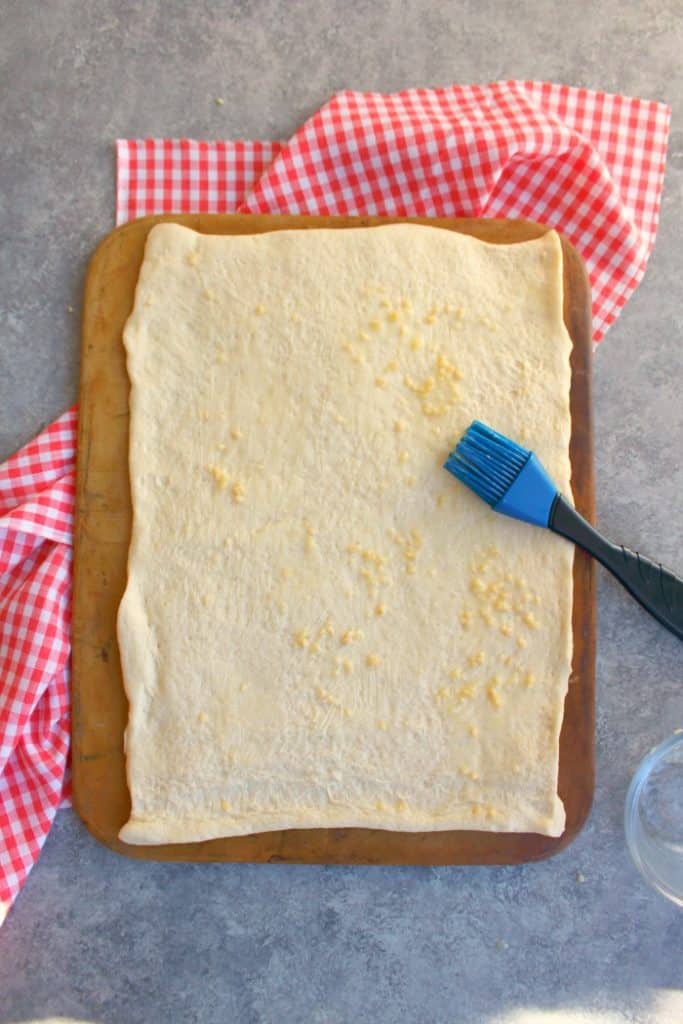
Step 1: Brush the pizza crush with melted butter and garlic
One of the aspects of making these cheesy garlic breadsticks so quick and easy to make is the fact that they start with a refrigerated pizza crust. I used a (10 oz.) tube of Pillsbury pizza crust that you would find in the refrigerated section near the biscuits, cinnamon rolls and croissants.
Simply roll out the crust on a sheet pan or baking stone. Then, combine the melted butter and garlic, and brush over the surface of the crust.
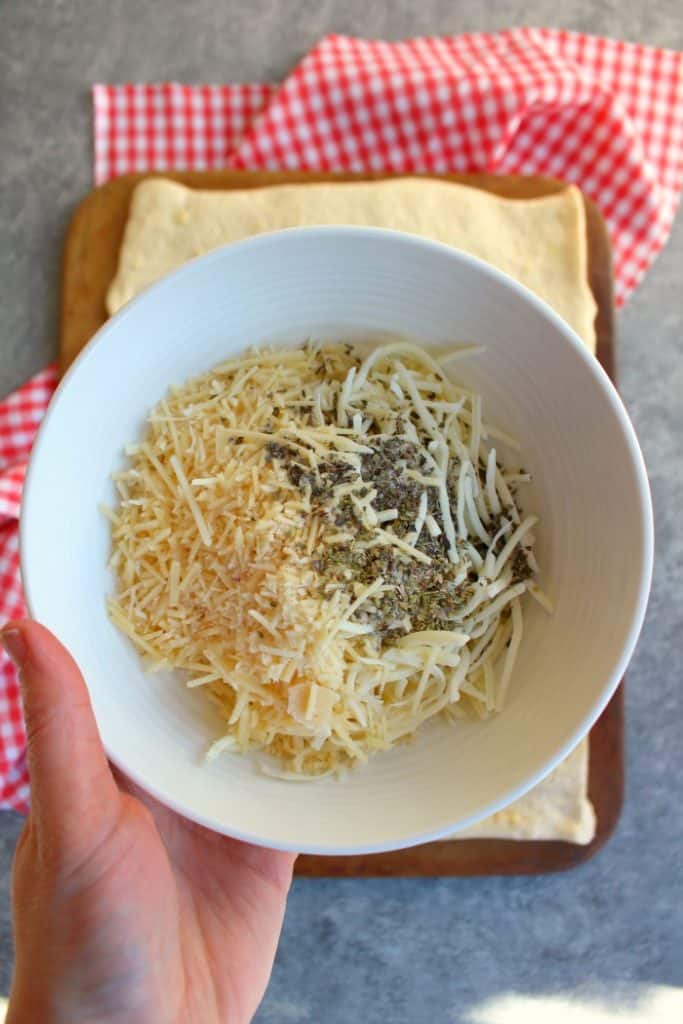
Step 2: Combine the cheeses, dried herbs and salt
Mmmmmm, my favorite part – the cheese!! In a bowl, combine the shredded mozzarella and Parmesan cheeses, as well as the basil, oregano and garlic salt. Stir together to combine. This will ensure that you have an even sprinkling of all the ingredients.
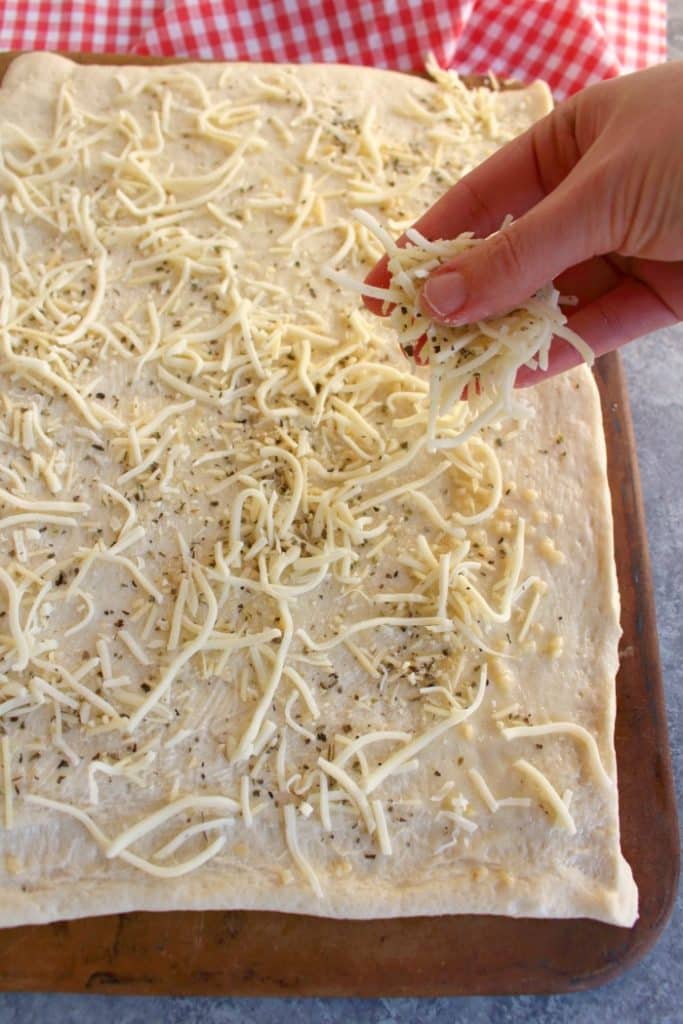
Step 3: Sprinkle the cheese mixture over the crust
Evenly sprinkle the cheese mixture evenly over the top of the buttered pizza crust. Go as far to the edge as possible.
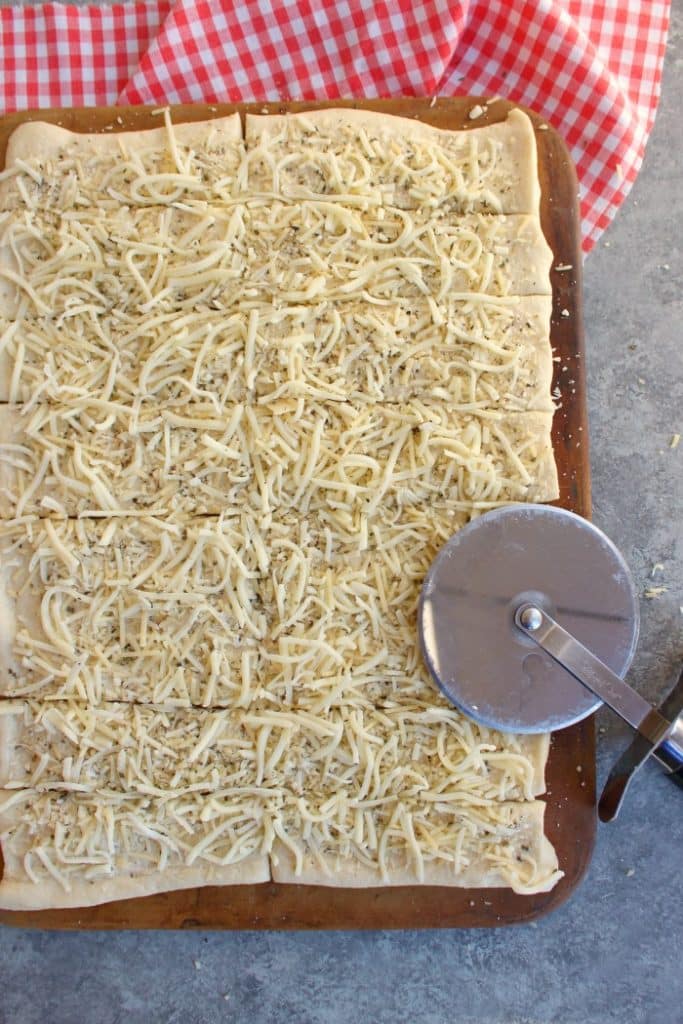
Step 4: Pre-cut the breadsticks
Through a little trial and error, I discovered that pre-cutting the cheesy breadsticks before they go into the oven helps tremendously. It’s helpful in the fact that the cheese wont completely slide off each individual breadstick if you cut it after it comes out of the oven.
You can do this with a pizza cutter. You’ll likely need to cut through the breadsticks one more time after they come out of the oven.
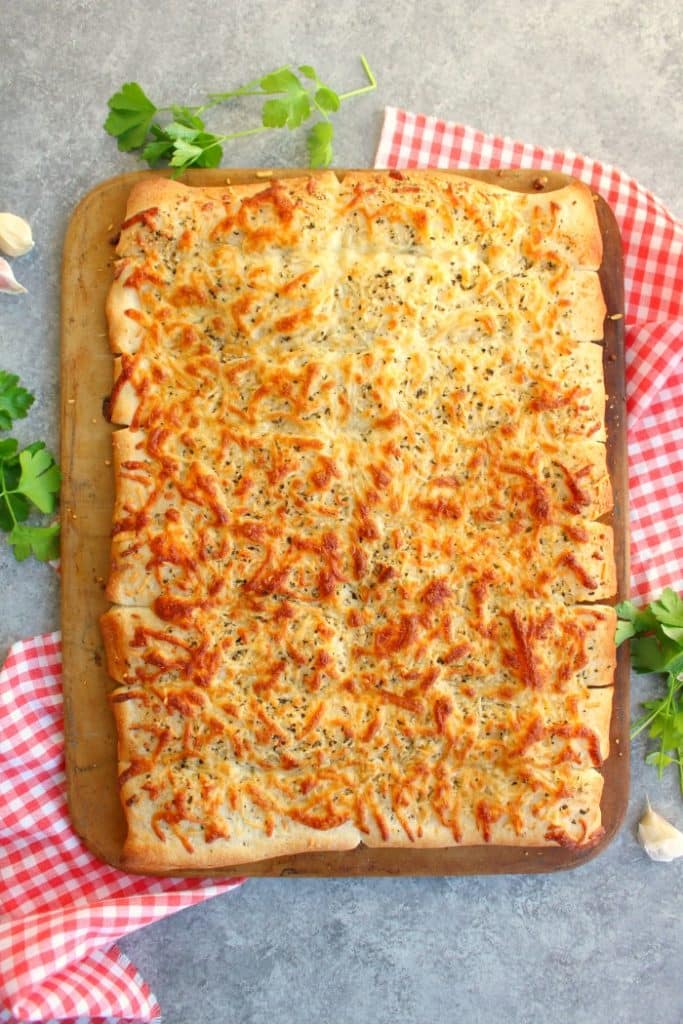
Step 5: Re-slice and serve
Once the cheesy garlic breadsticks come out of the oven, run the pizza cutter through the strips one more time.
Again, this will help keep the cheese in place on each individual breadstick. Let them sit a few minutes to cool off, then serve ’em up!
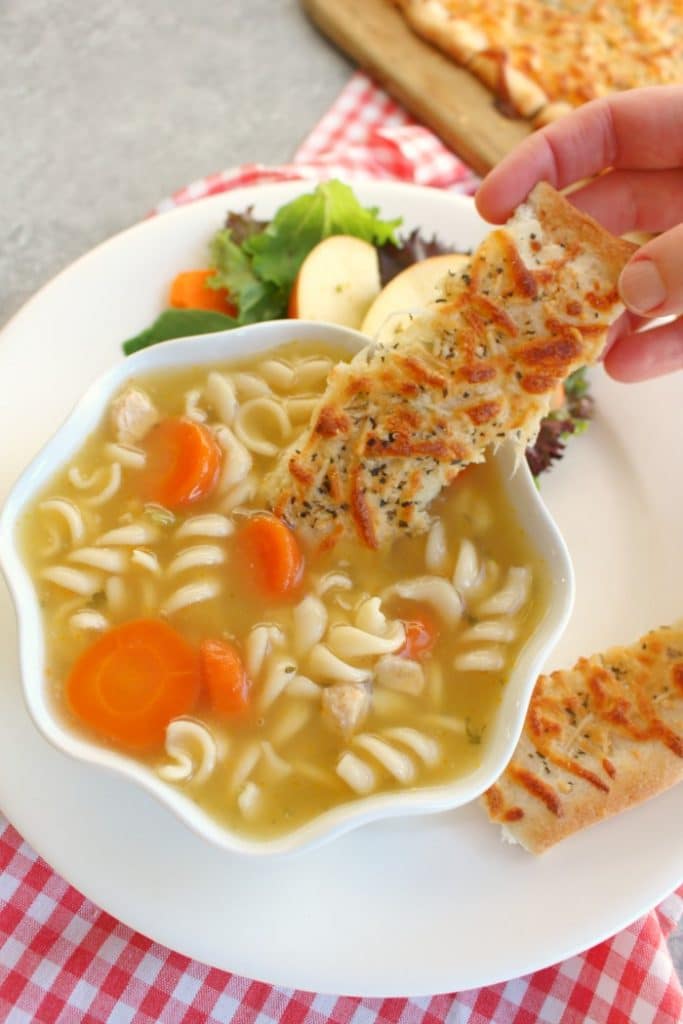
These easy cheesy breaksticks are fantastic with a hearty bowl of soup. Great for dunking in the delicious broth, these cheesy garlic breadsticks will be your new go-to side for cold winter nights. Enjoy! ~Erin
What can I serve cheesy breadsticks with?
- Skillet Lasagna
- Ham and Bean Soup in a Slow Cooker
- Olive Garden Pasta Fagioli Soup
- Creamy Tuscan Chicken Pasta
- Healthy Chicken Broccoli Cheese Soup
- One Skillet Cheesy Italian Goulash
- Creamy Tomato & Tortellini Soup
- Olive Garden Chicken Gnocchi Soup
- Slow Cooker Loaded Baked Potato Soup
- Pepperoni Pizza Sliders
- Roasted Carrot Butternut Squash Soup
- Kale and Roasted Carrot Salad with Apples
Here’s the recipe for my delicious Easy Cheesy Breadsticks:
Want to Save This Recipe?
Enter your email & I’ll send it to your inbox. Plus, get great new recipes from me every week!
By submitting this form, you consent to receive emails from Delightful E Made.
Easy Cheesy Breadsticks

Equipment
- Pizza Cutter This pizza cutter makes cutting through pastry dough, and crisp pizza crusts a breeze.
- Sauce Brush Ideal for brushing sauce, butter, and more. Great for grilling!
- Sheet Pan These USA stainless steel sheet pans are great for one-pan meals!
Ingredients
- 1 (10 oz. tube) refrigerated pizza crust like Pillsbury
- 2 Tablespoons melted butter
- 2 teaspoons minced garlic
- 3/4 cup shredded mozzarella cheese
- 1/4 cup shredded Parmesan cheese
- 1 teaspoon dried basil
- 1 teaspoon dried oregano
- 1/2 teaspoon garlic salt
Instructions
- Preheat oven to 425 degrees.
- Roll out pizza crust on to a baking stone or sheet. Combine melted butter and garlic, and brush over the top of the crust.
- In a bowl, combine the cheeses, dried herbs and salt. Combine, and evenly sprinkle over the top of the buttered crust. With a pizza cutter pre-cut the crust into breadsticks. Cut lengthwise in half, then slice into 16 breadsticks.
- Bake the breadsticks for 10-12 minutes, or until golden brown. Cut the breadsticks again to ensure the cheese stays in place on each breadstick. Let cool for 5 minutes before serving.
Notes
Nutrition


What a great idea!! Pinned for the next time I make some soup! Thanks for sharing at the What’s for Dinner party. Have a wonderful week!
That bread looks so good I want it for breakfast!
These sound amazing and so nice and simple! Pinned.
I will be making this awesome recipe very soon! Wishing you a very Merry Christmas and thanks so much for sharing your awesome post with us at Full Plate Thursday!
Miz Helen
I am craving for breadsticks now! These would be perfect with pasta. 😀 Thank you for sharing at Fiesta Friday party!
You got me at “cheesy”… Thanks for sharing at Fiesta Friday!
Thanks for joining us at Reader Tip Tuesday. We are back after a two week holiday break and featured this recipe (it looks amazing), We hope to see you at this week’s party, xo and Happy New Year!
http://www.jodiefitz.com/2019/01/08/reader-tip-tuesday-weeks-craft-recipe-party-14-2-2-2-2-2-2-2-2-2-2-2-2-2-2-2-2-2-2-2-2-2-2-2-2-2-2-2-2-2-2-2-2-2-2-2-2-2-2-2-2-2-2-2-2-2-2-2-2-2-2-2-2-2/
I am definitely going to try these breadsticks, and also the Creamy Brocolli salad with apples and cherries. So many great recipes, thanks for sharing!!
Is this grated Parmesan cheese or shredded?