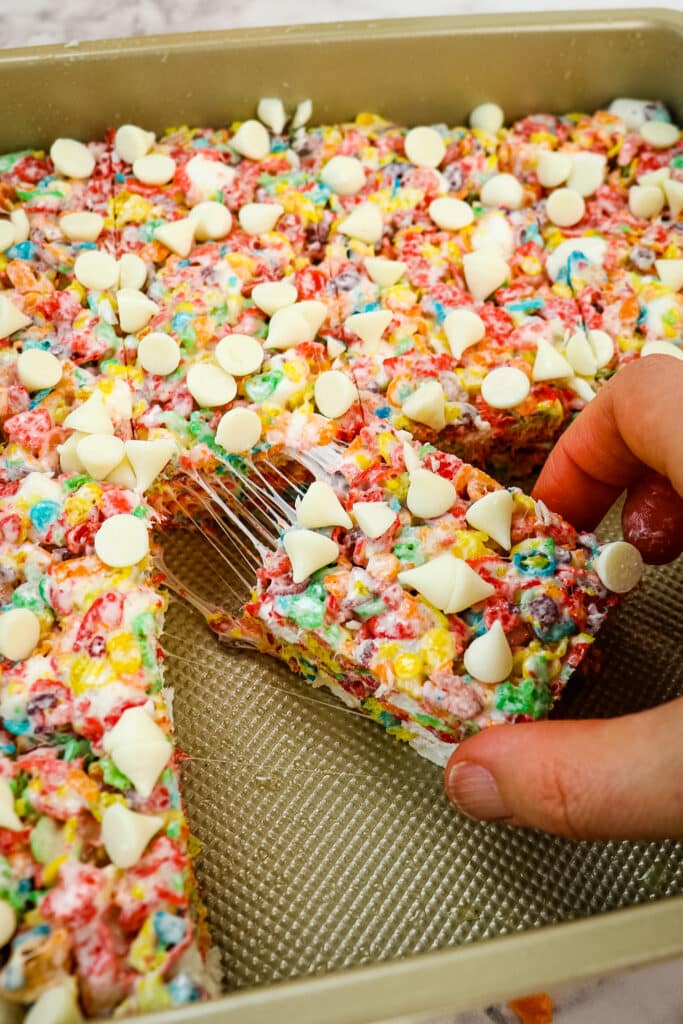
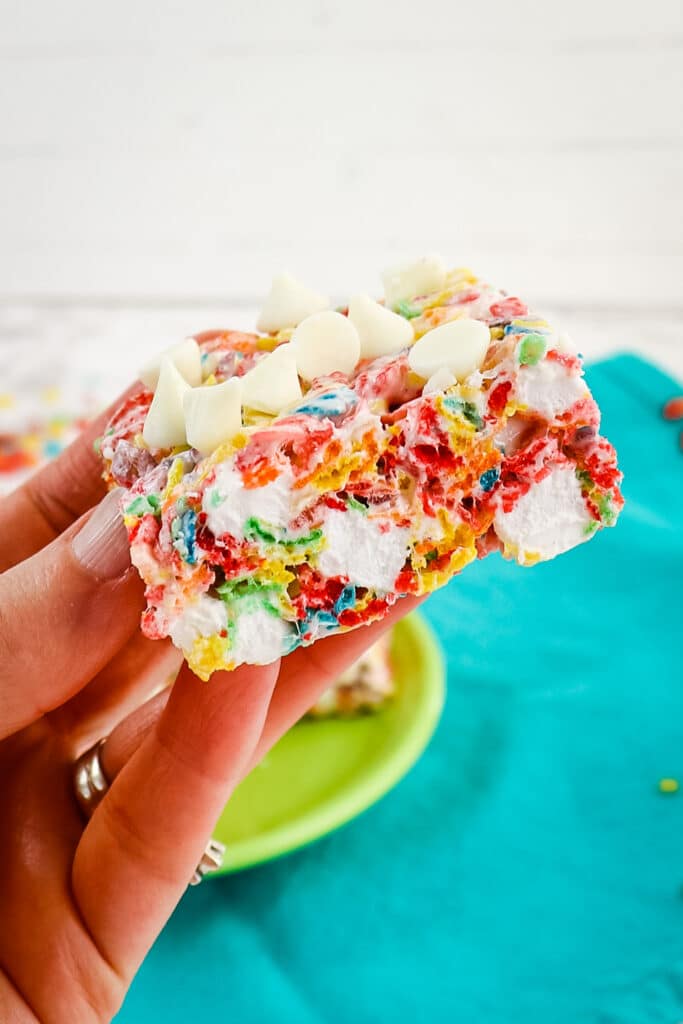
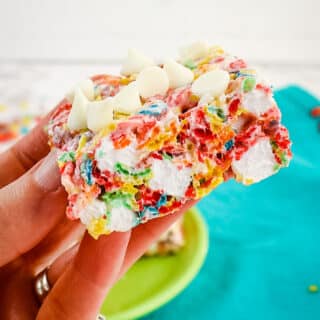
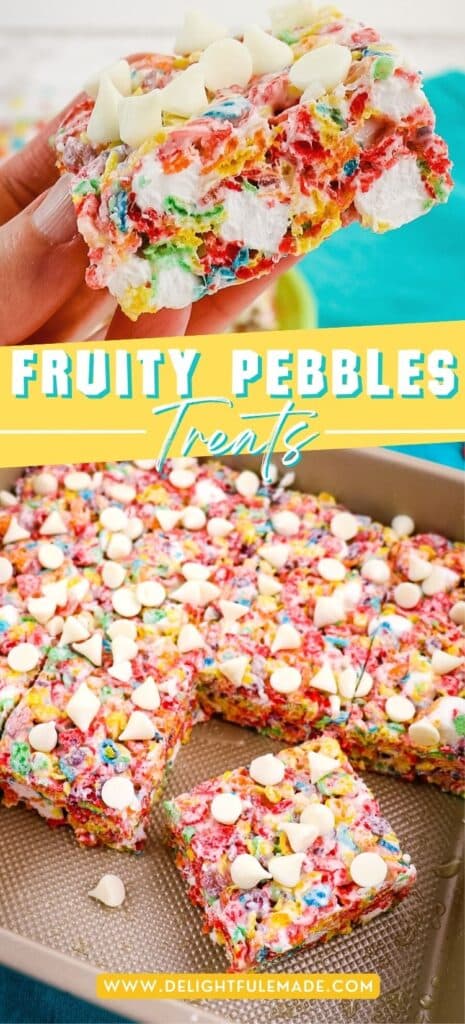
A Fruity Pebbles Treats recipe brought to a whole new, fun and colorful level! These Fruity Pebbles marshmallow treats are topped with white chocolate chips and extra marshmallows in every bite.
This post may contain affiliate links. Delightful E Made is a participant in the Amazon Services LLC Associates Program, an affiliate advertising program designed to provide a means for us to earn fees by linking to Amazon.com and affiliated sites.
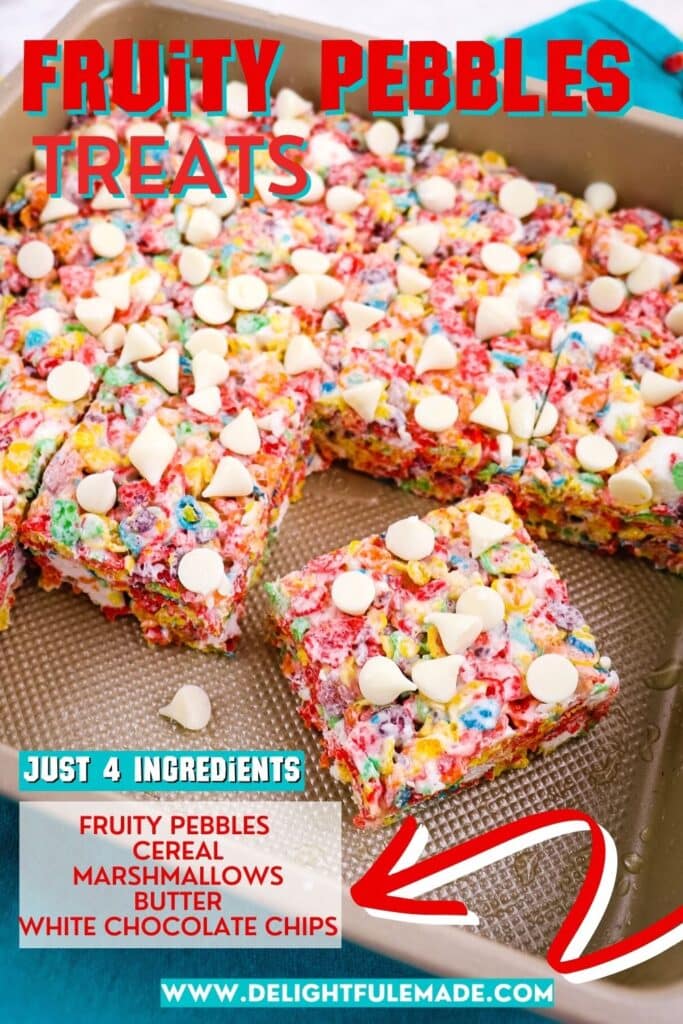
Is there a breakfast cereal that always brings you back to your childhood? For many, Fruity Pebbles holds a special place in their heart. These Fruity Pebbles marshmallow treats are the perfect way to enjoy those flavors from our childhood.
Made with just four simple ingredients, and no cooking needed (just a microwave) these cereal treats are really easy to make. Top with some white chocolate chips to make them extra special.
What do I need to make Fruity Pebbles treats?
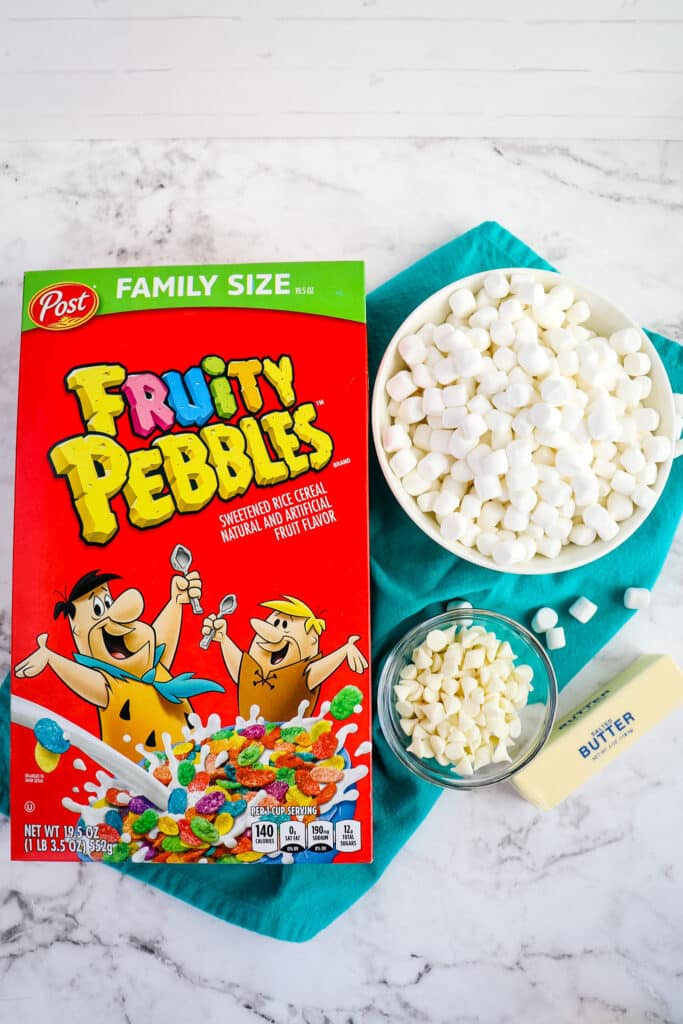
Here’s a quick reference checklist of the ingredients you’ll need to make these easy marshmallow treats:
- Fruity Pebbles cereal
- Mini marshmallows – pick up two bags, you’ll need one for melting and have extra on hand to stir into the treats, unmelted.
- Butter – necessary for melting the marshmallows.
- White Chocolate chips – optional, but a treat addition to the tops of these cereal treats.
- Non-stick cooking spray – this is very helpful, not only for spraying your pan, but for spraying on your hands when pressing the cereal treats into the pan.
For exact ingredient amounts and full recipe instructions be sure to scroll down to the bottom of the post to the recipe card. Thanks!
How do I make Fruity Pebbles treats?
Fruity pebbles marshmallow treats are made just like Rice Krispie treats are made. No stove top cooking is necessary, as you can melt the marshmallows and butter in the microwave.
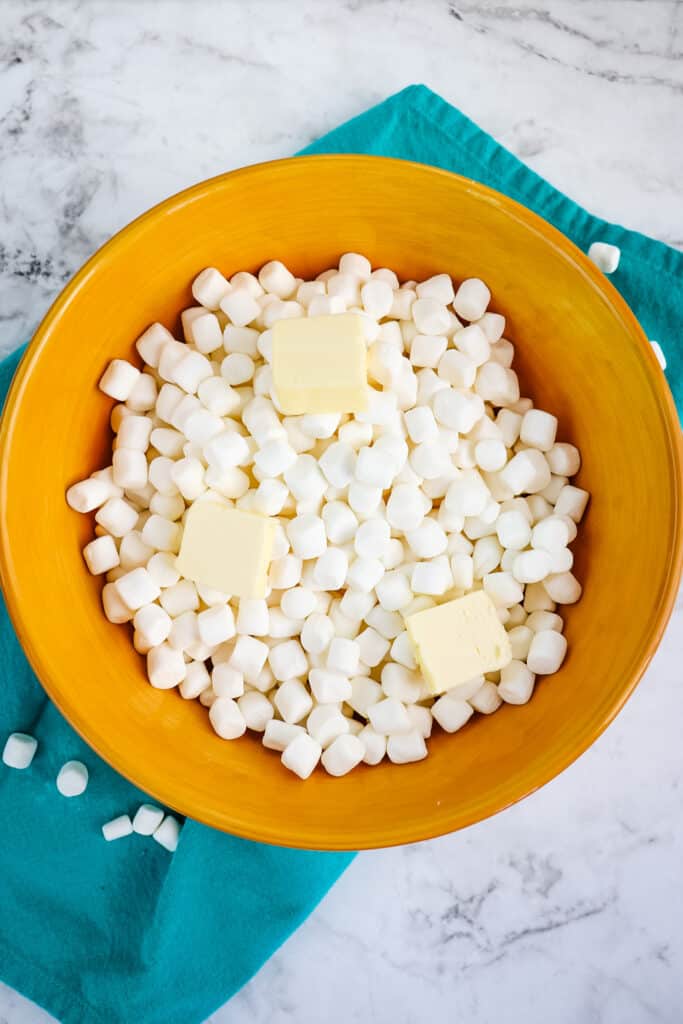
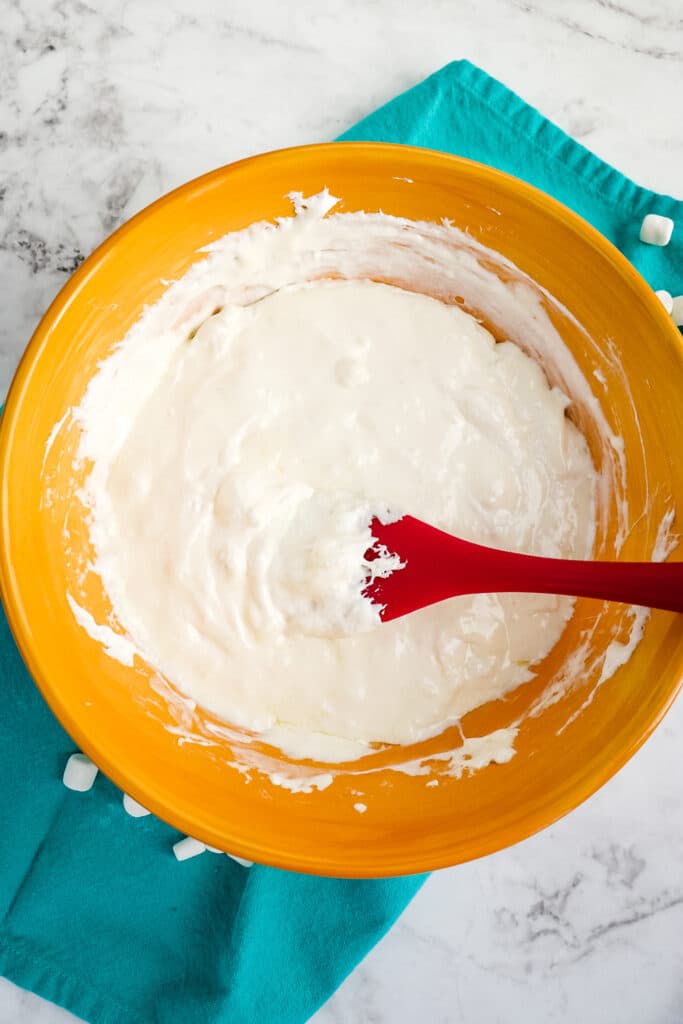
To start, add the mini marshmallows and butter to a microwave safe bowl. Microwave on 1 minute increments until the marshmallows are completely melted with the butter. Mixture will be very sticky.
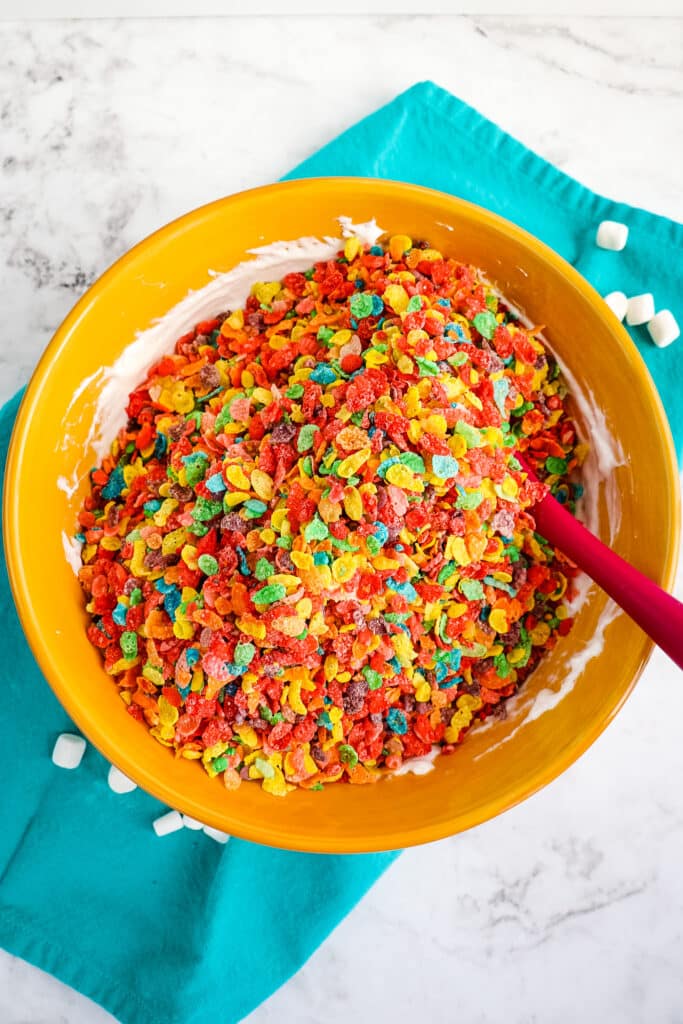
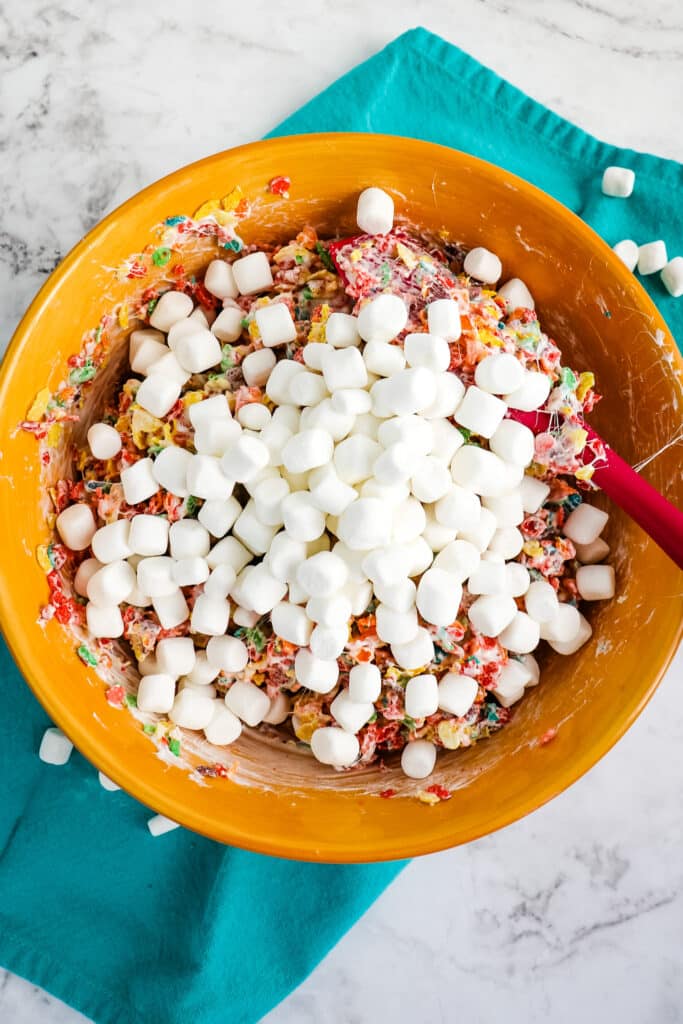
Using a rubber scraper, fold together the melted marshmallow mixture and the Fruity pebbles. Mix together until completely combined. Then, add the extra mini marshmallows to the mixture and fold into the cereal mixture.
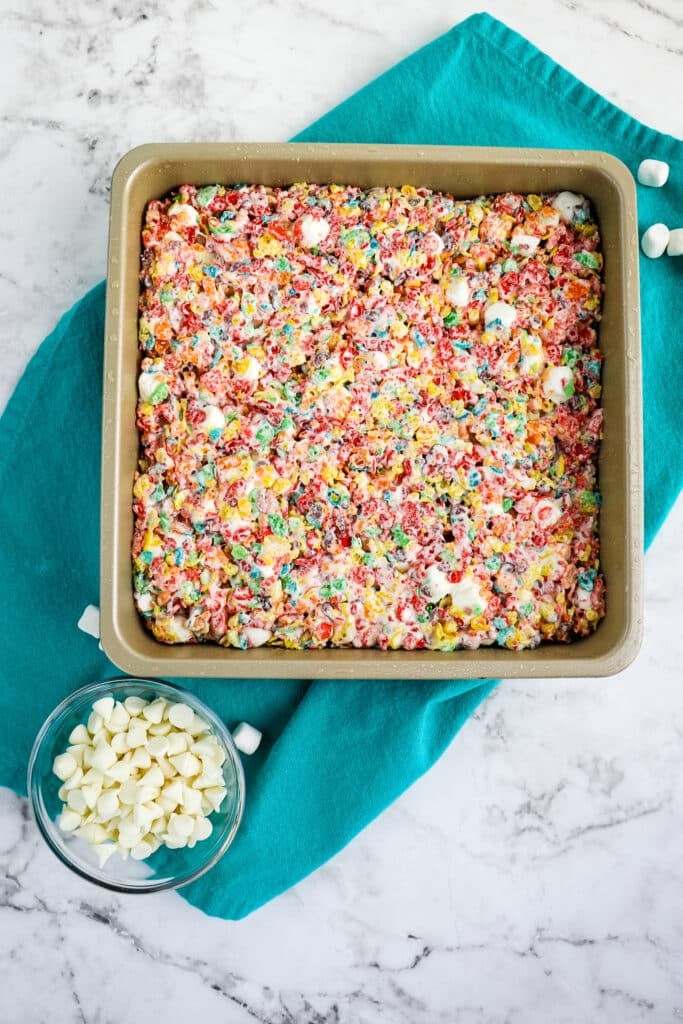
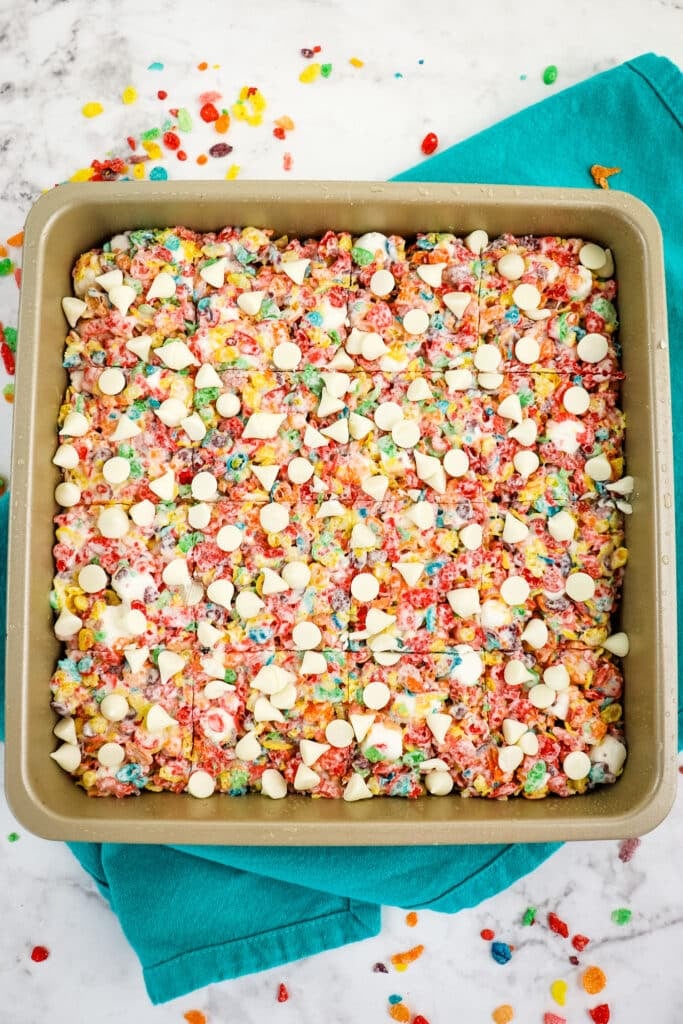
Press the cereal mixture into a 9 x 9″ pan that has been sprayed with non-stick spray. It is very helpful to also spray your hands with the non-stick spray to prevent the marshmallow mixture from sticking to your hands.
Once you’ve pressed the cereal mixture into the pan, top the marshmallow treats with some white chocolate chips. These are optional, but a great addition and topping to these treats. Press the white chocolate chips down slightly into the treats.
Let the treats cool and come to room temperature for at least 30 minutes before cutting. This will help them maintain their shape.
What can I serve with this Fruity Pebbles Treats recipe?
Here are some fun drink options that would be great with these marshmallow treats:
- Starbucks Pink Drink Recipe
- Frosted Lemonade
- Copycat Chick-fil-A Peach Milkshake
- Starbucks Vanilla Bean Frappuccino Recipe
- Mocha Cookie Crumble Frappuccino
- Starbucks Mocha Frappuccino Recipe
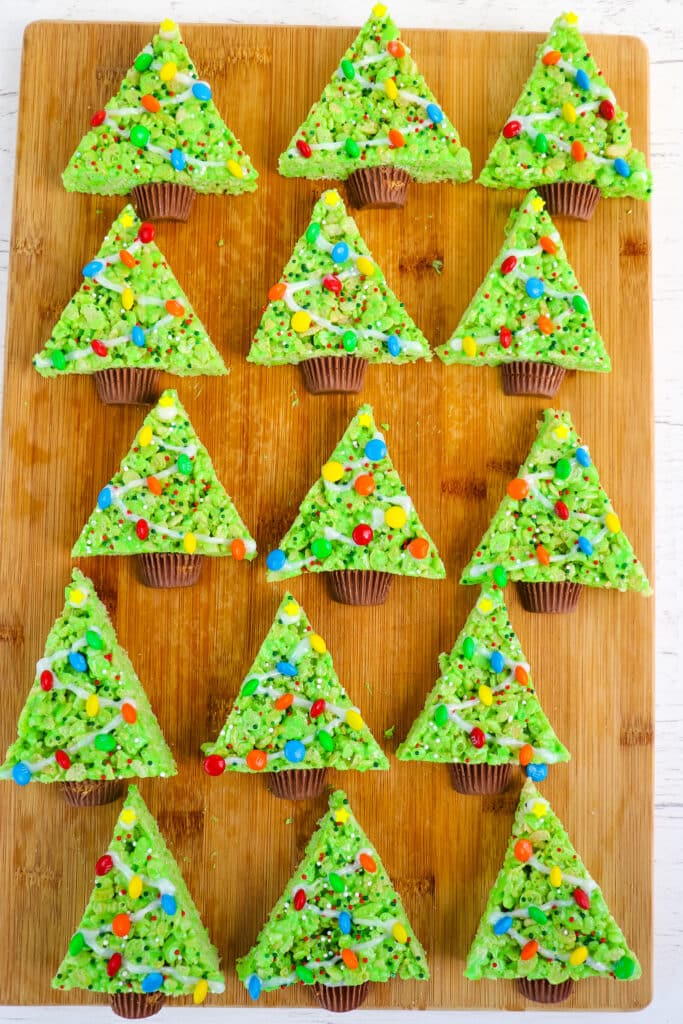
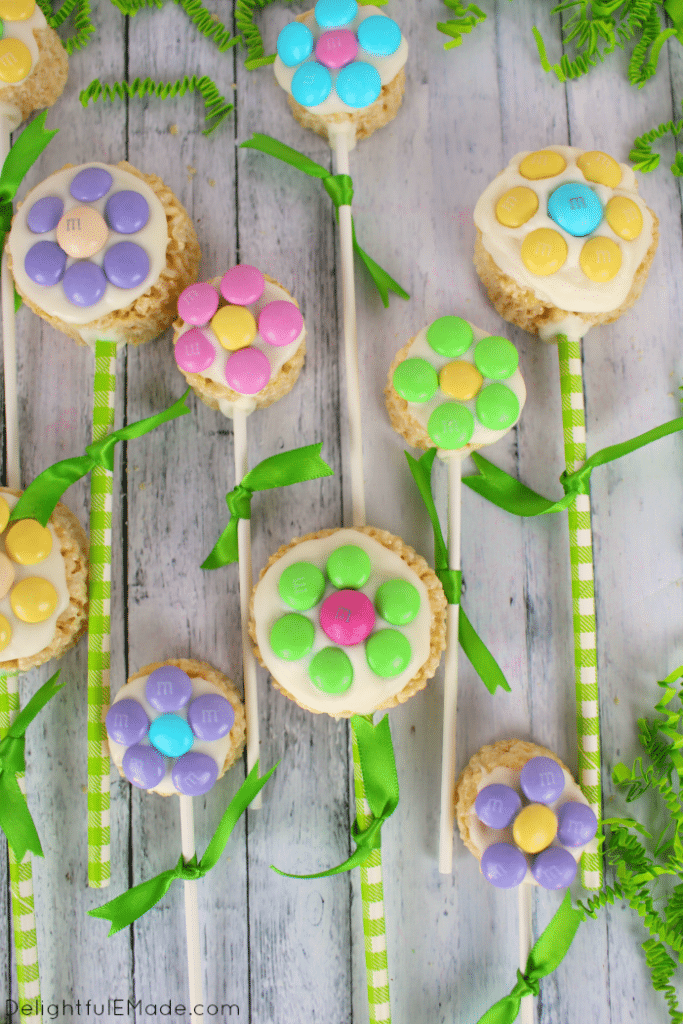
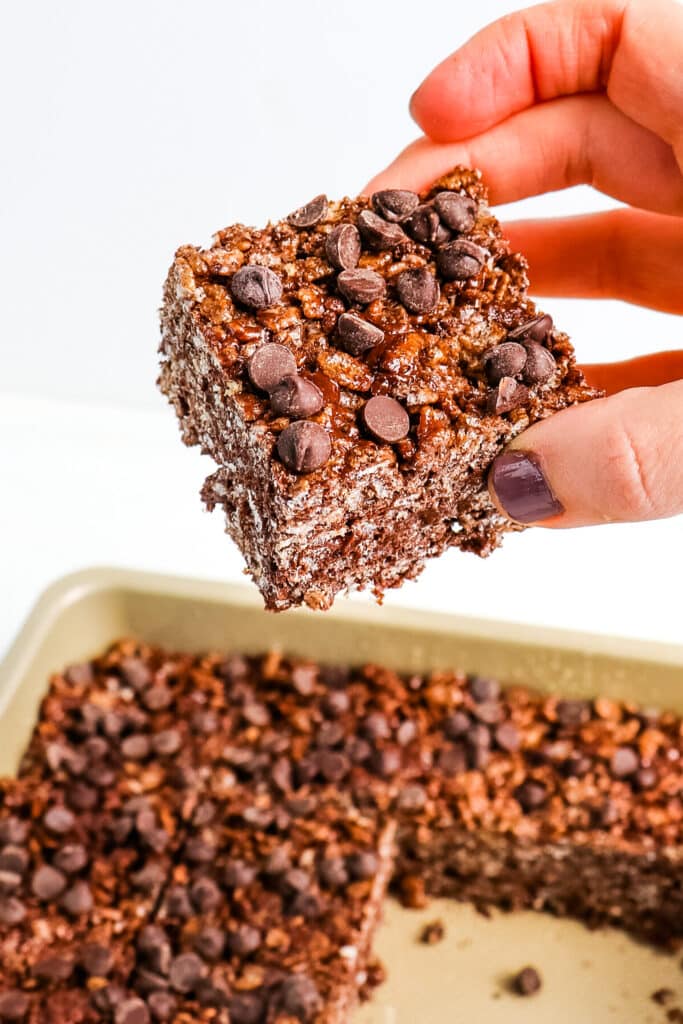
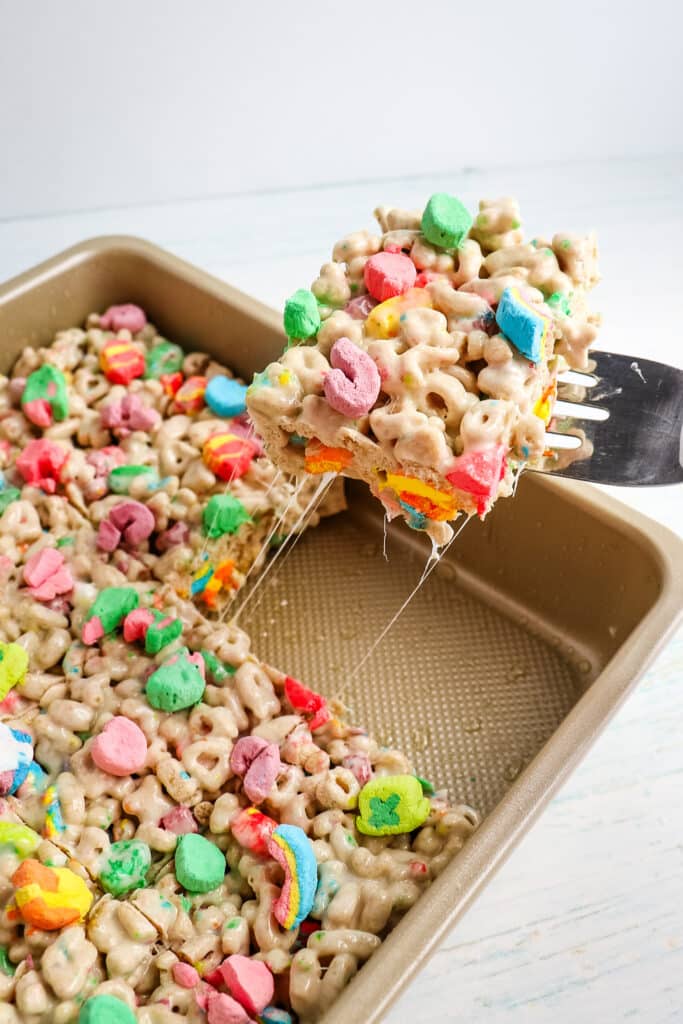
Love cereal treats? Check out our other cereal treat recipes:
Want to Save This Recipe?
Enter your email & I’ll send it to your inbox. Plus, get great new recipes from me every week!
By submitting this form, you consent to receive emails from Delightful E Made.
Fruity Pebbles Treats
Equipment
- 9 x 9 Pan This non-stick 9 x 9" pan is fantastic for no bake desserts, as well as bars, brownies and more!
- Glass Mixing Bowls These glass mixing bowls are microwave-safe making them perfect for making cereal treats!
- Rubber Scrapers These Cuisinart rubber scraper spatulas are fantastic for fillings, batters, and so much more!
Ingredients
- 6 cups Post Fruity Pebbles cereal
- 5 Tablespoons butter melted
- 1 (10 oz. bag) mini marshmallows plus additional 1 1/2 cups to stir in un-melted
- 1/2 cup white chocolate chips optional
Instructions
- Spray a 9 x 9" square pan with non-stick spray. Set aside.
- In a microwave-safe bowl, melt the butter and bag of mini marshmallows together. Microwave on 1 minute increments until just melted. Be careful not to overheat the marshmallow mixture, as this makes your treats very hard.
- Once the marshmallow and butter are melted together, add the cereal to the melted marshmallow mixture and stir until the cereal is completed coated with the marshmallows. Mix in the additional 1 1/2 cups of reserved mini marshmallows.
- Press the mixture into the 9×9 pan. Top the marshmallow treat with the white chocolate chips. Let the treats cool for at least 30 minutes before slicing. Slice into 16 squares.
Notes
Nutrition
Love these treats, so colorful and definitely a great party food! Found you at Treasure Box Tuesday and now following on FB. Pinning this and sharing on my FB page. 🙂
Thanks so much, Bernadyn! The treats are so fun and easy to make – especially fun to eat, too! 😉 Thanks so much for pinning and sharing as well. All the best!! ~Erin
I just love how colorful these are! So fantastic…they make me happy just looking at them!
Thanks so much, Julie!! Fun to make and fun to eat! 😉 Also, thanks SOOOO much for sharing my page today. You girls are fantastic! ~Erin
These are really colourful. They would make a great kids party treat
You’re so right, Tracy! These would definitely make a great party treat. Hope you get to enjoy soon! ~Erin
I totally agree, something about sprinkles does just make people happy because just looking at these made me happy! Thank you so much for linking up at Tasty Tuesday! Your recipe has been pinned to the Tasty Tuesday Pinterest board! Please join us again this week!
Hey there! Found you on Saturday Night Fever Link Up. These bars are awesome!!! I’m a sucker for sprinkles, so the colors instantly draw my attention. Love them!
Those are so cute! I love how colorful they are – perfect for back to school
Thanks so much, Marye!
Love it! Who knew fruity pebbles would make such a great treat like this!
They’re such a fun, easy treat! Hope you get to enjoy soon, Cathy!
Love fruity pebbles, this looks amazing! My kids will love it. Stopping by from Wine’d Down Wednesday, just pinned your recipe so we can try it too. Have a great week!
Great for both kids and grown-ups alike. Thanks so much Heather! ~E
These treats are so colorful and fun! I’m sure they’re a huge kit with kids 🙂 I’m featuring your awesome post on the Bewitchin’ Projects link party that goes live tomorrow ♥
They really are fantastic treats for the kids (and grown-ups too!) Thanks so much for featuring! ~Erin
Look awesome! Thanks for sharing. I will be making these the night before. When you say refrigerate until ready to serve, I’m assuming because of the frosting? This won’t make the bars hard? Thanks!
Yes, refrigerating the bars until ready to serve helps the frosting set. The bars won’t get hard, in fact, the frosting helps keep them nice and chewy and works as a nice moisture layer. They’re really delicious! Enjoy! ~Erin
So pretty!! Thanks for sharing on the What’s for Dinner link up!
My daughter would love these. All that color and candy! Thanks for sharing on Family Joy Blog Link-up. Please come back and join us again!
I love rainbow food and these are so pretty! I’ve chosen this as one of my features for tonight’s Share The Wealth Sunday! I hope you’ll join us again tonight!
I love making marshmallow treats with something other than Rice Krispies! So fun! Fruity Pebbles are the bomb! What a great class treat! Thanks for sharing with Saucy Saturdays and see you next week!
In the frosting part what does “cream the butter” mean? Is butter mixed in the frosting?