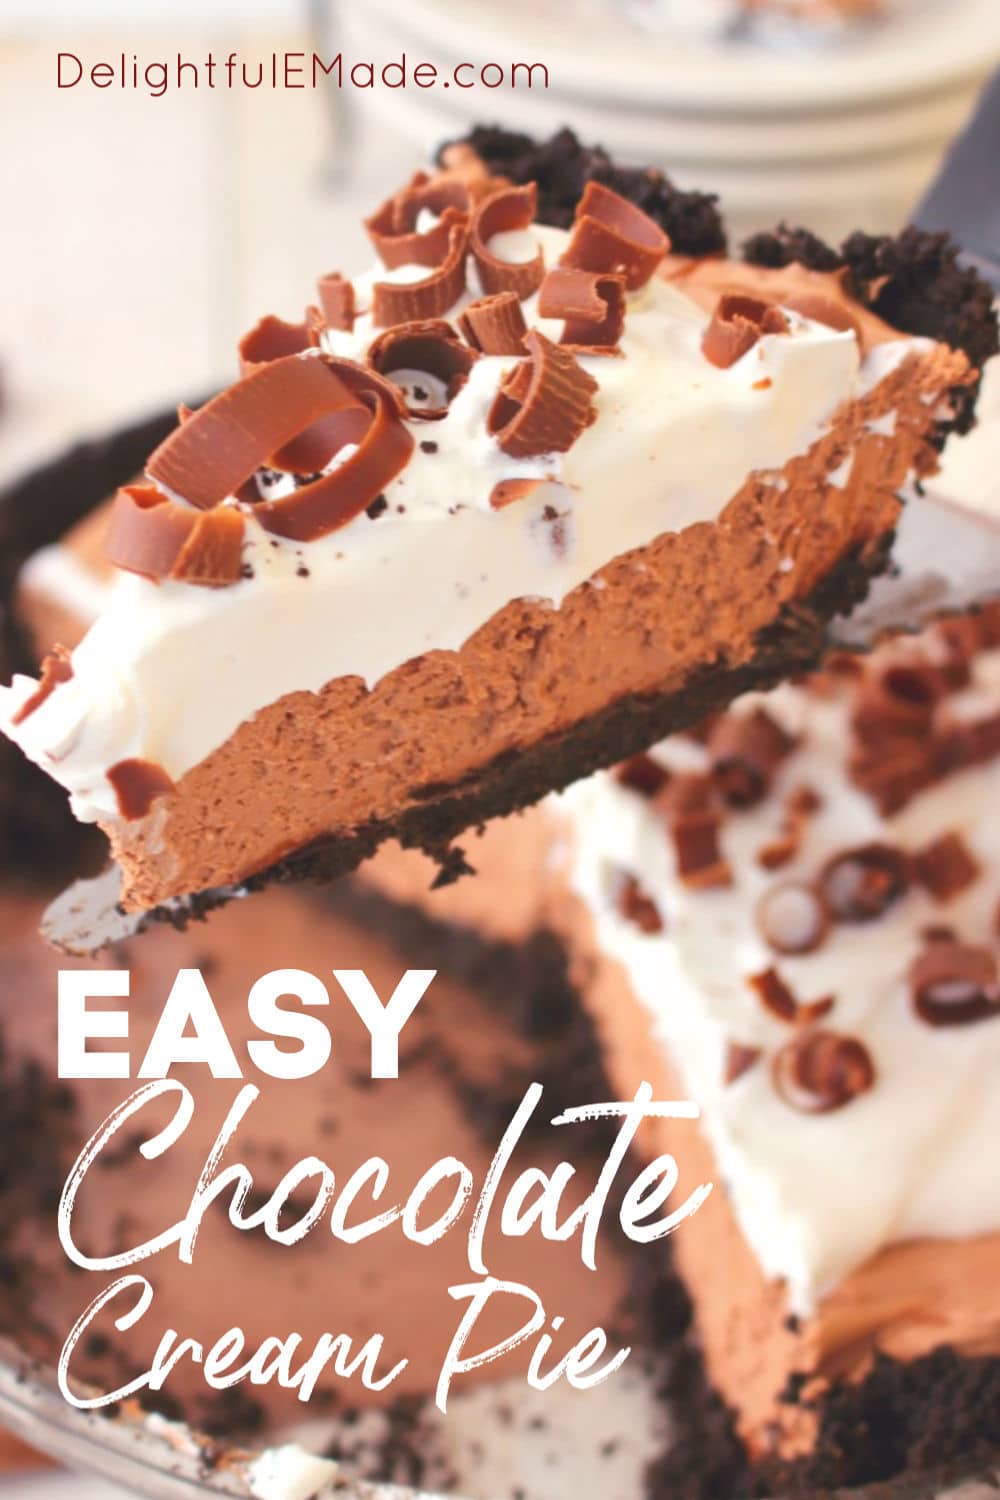
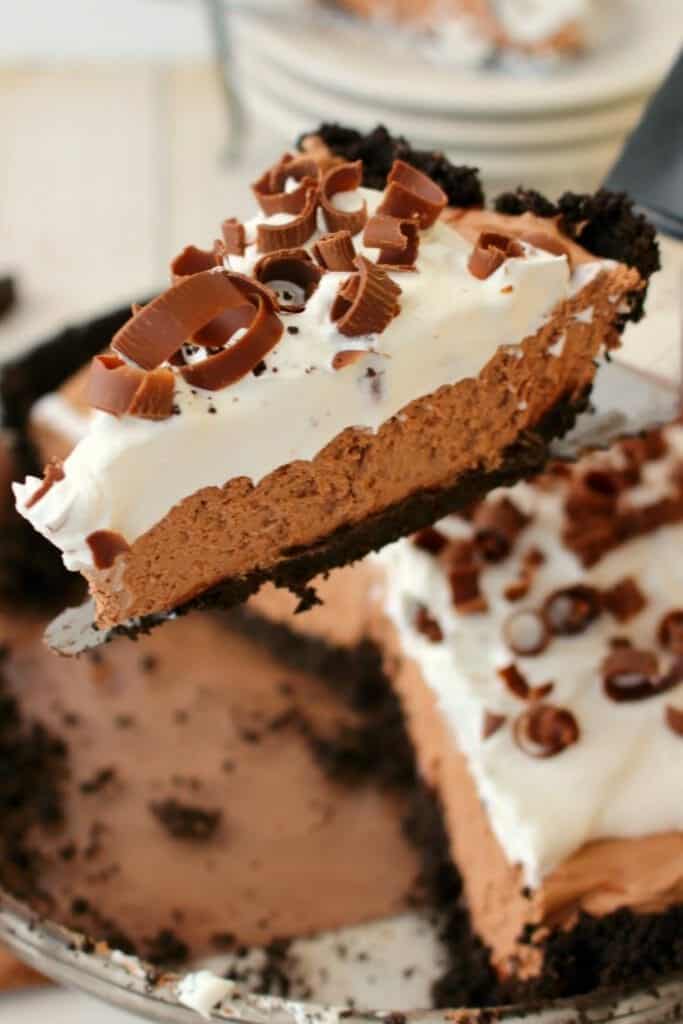
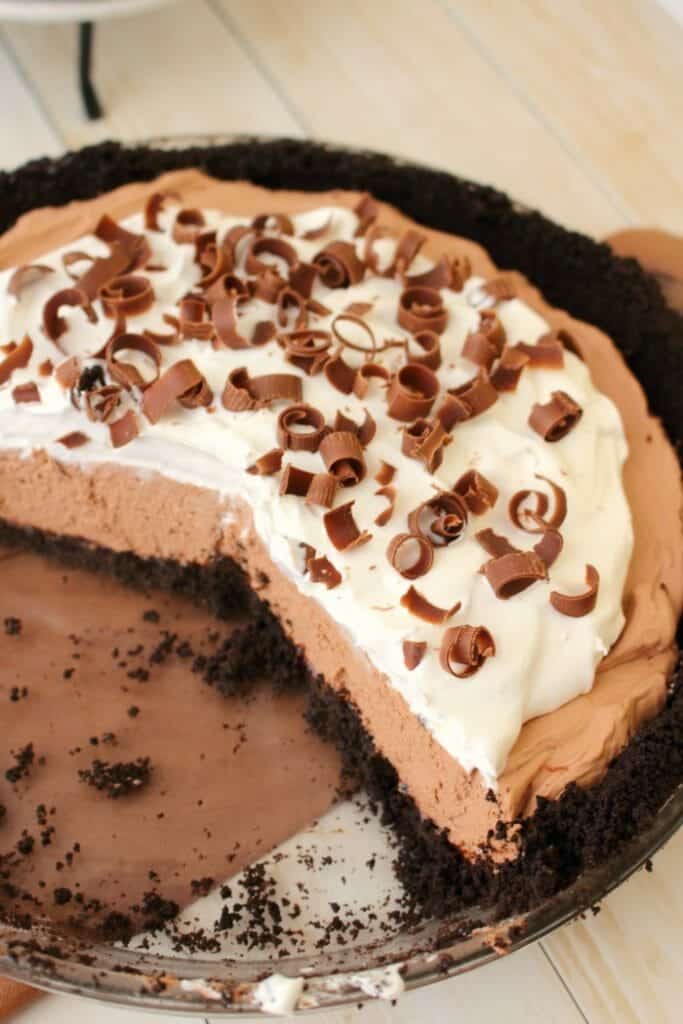
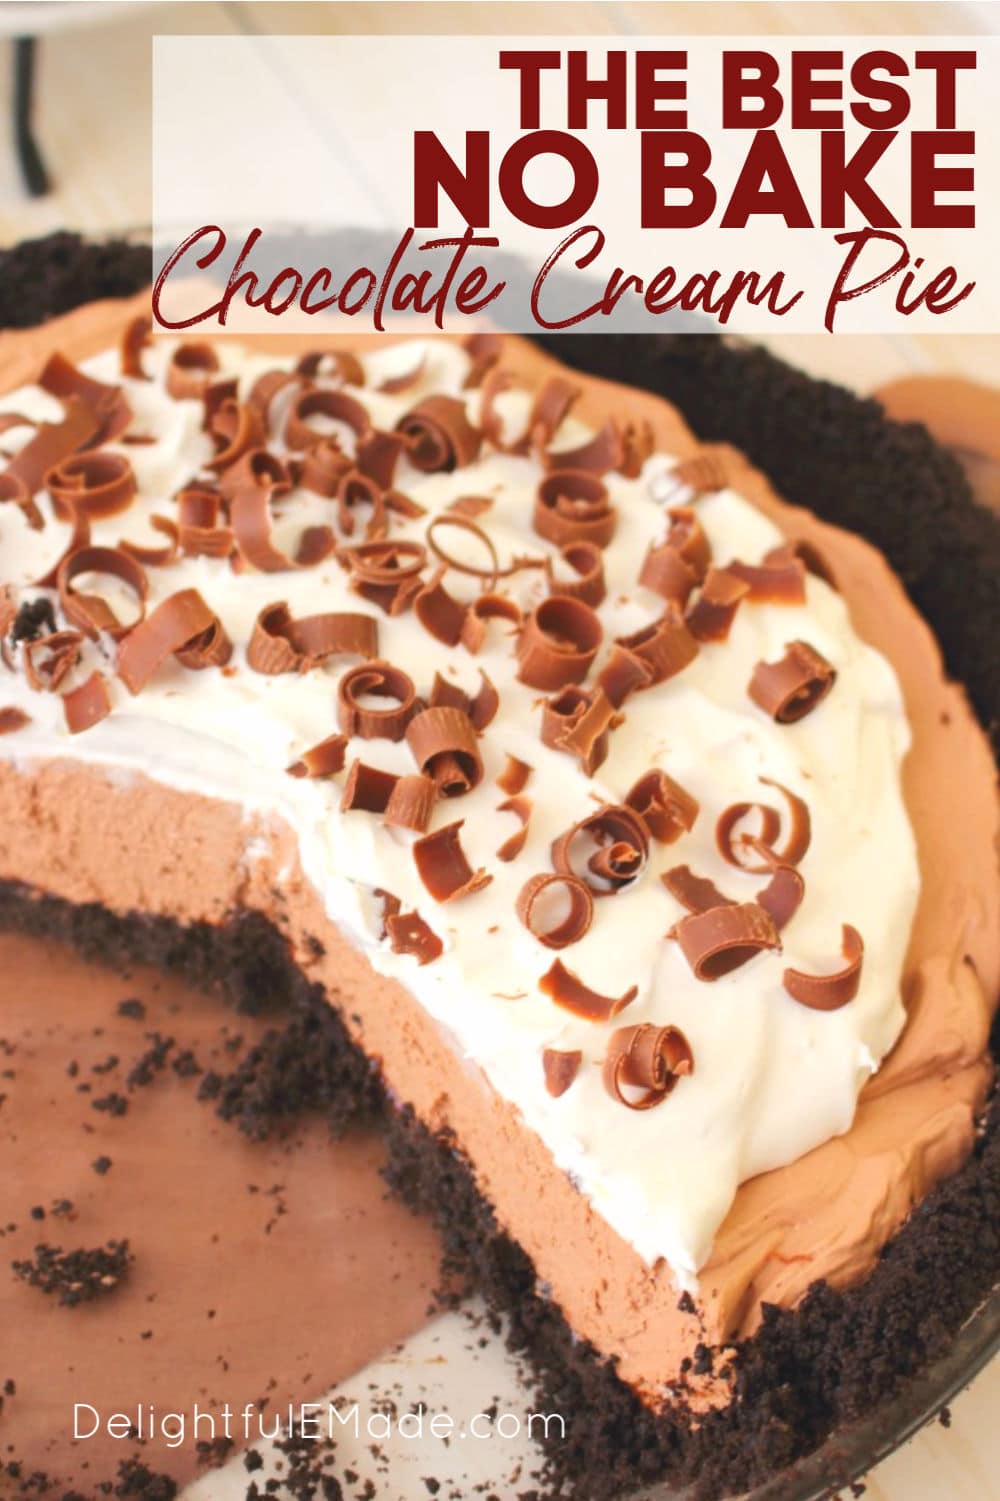
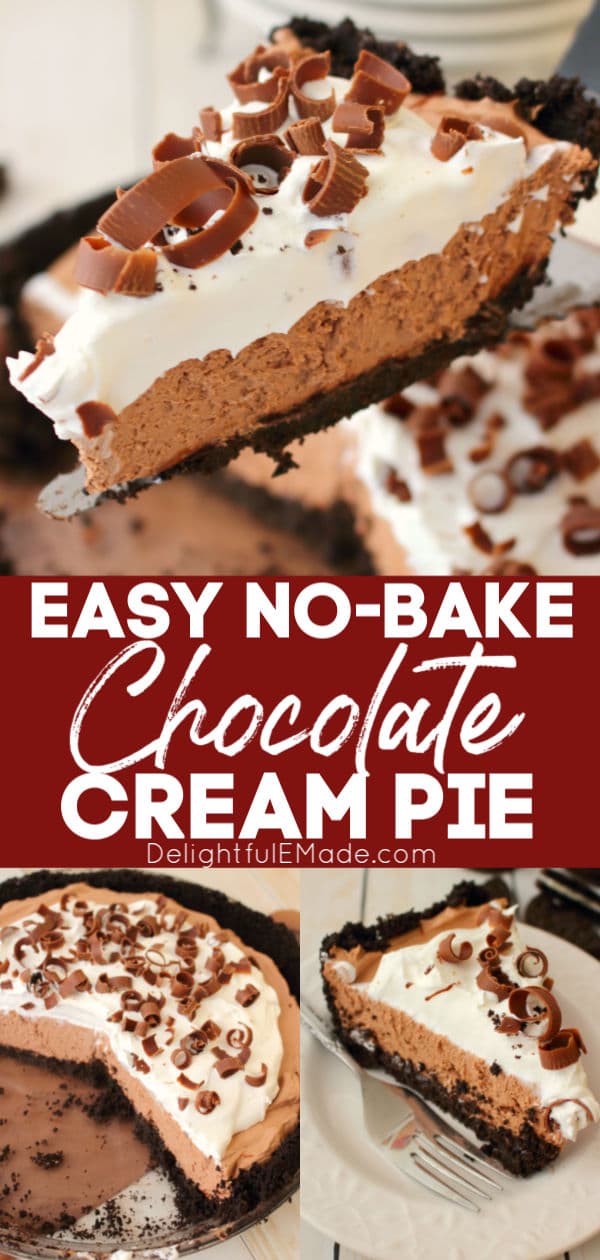
The perfect no bake chocolate pie recipe! Made with an OREO cookie crust, a delicious layer of hot fudge, and a creamy chocolate mousse filling, this chocolate mousse pie recipe is heavenly!
If you love an decadent, delicious chocolate dessert, then this chocolate mousse pie recipe will be right up your alley. No bake desserts are fabulous for so many occasions – amazing in the summer when you don’t want to turn on your oven, and great for holiday dinners when you need something that can be made ahead of time and refrigerated.
This no bake chocolate pie recipe so simple to make. Made with an OREO cookie crust, a layer of chocolate fudge and topped with chocolate curls, this chocolate pie will be the star of your party or holiday dinner.
What do I need to make a chocolate mousse pie?
Here’s a quick-reference check list of the ingredients you’ll need to make this no bake pie. Note that I’ve linked my favorite ingredients that I use from Target (affiliate links). These ingredients are almost always available for a quick same-day Target pickup, drive-up or delivery.
- OREO cookies – you’ll need a package of OREO cookies or the equivalent of the store-brand. You can use regular or double-stuffed. You can also purchase a pre-made OREO cookie crust to save some time.
- Butter – butter is used to make the OREO crust. Feel free to use either salted or unsalted butter.
- Hot fudge ice cream topping – Hot fudge ice cream topping is included as a layer between the crust and the filling. A decadent and delicious ingredient.
- Cream cheese – cream cheese is necessary to create the chocolate mousse filling. It will help create a smooth, creamy and fluffy texture to the filling.
- Powdered sugar – powdered sugar is needed to sweeten the chocolate mousse filling of the pie.
- Vanilla extract – vanilla ideal for adding extra flavor and richness to the chocolate mousse filling.
- Whipped Topping (like Cool Whip) – a large container of Cool Whip is divided to create the chocolate mouse pie filling, as well as for the topping of the pie. If you would prefer to use whipped cream, I would definitely recommend my Homemade Cool Whip recipe as this is a stabilized whipped cream ideal for desserts.
- Semi-sweet chocolate chips – semi-sweet chocolate chips are ideal for creating the chocolate mouse filling. You could also use dark chocolate chips or a semi-sweet baking bar.
- Milk chocolate bar – A milk chocolate bar, like a Hershey’s Chocolate Bar is used as the garnish to create the chocolate curls for the top of the pie.
For exact ingredient amounts and full recipe instructions be sure to scroll down to the bottom of this post to the recipe card. Thanks!
How do I make a no bake chocolate pie?
How to make an OREO cookie crust
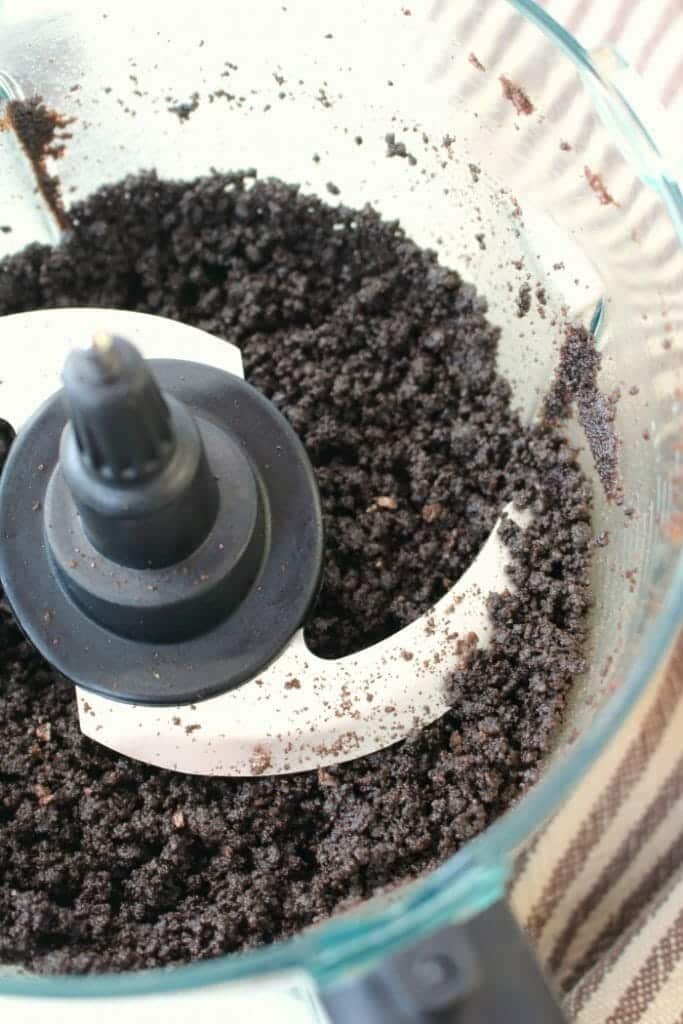
You’ll begin by crushing the cookies in a food processor. If you don’t have a processor, using a resealable plastic bag and a rolling pin works well. Just be sure the cookies are crushed well, and there are no big pieces remaining.
Once you have cookie crumbs, add in the melted butter, and pulse in the processor a few more times to mix together. The butter will help the crumbs stick together to form a crust.
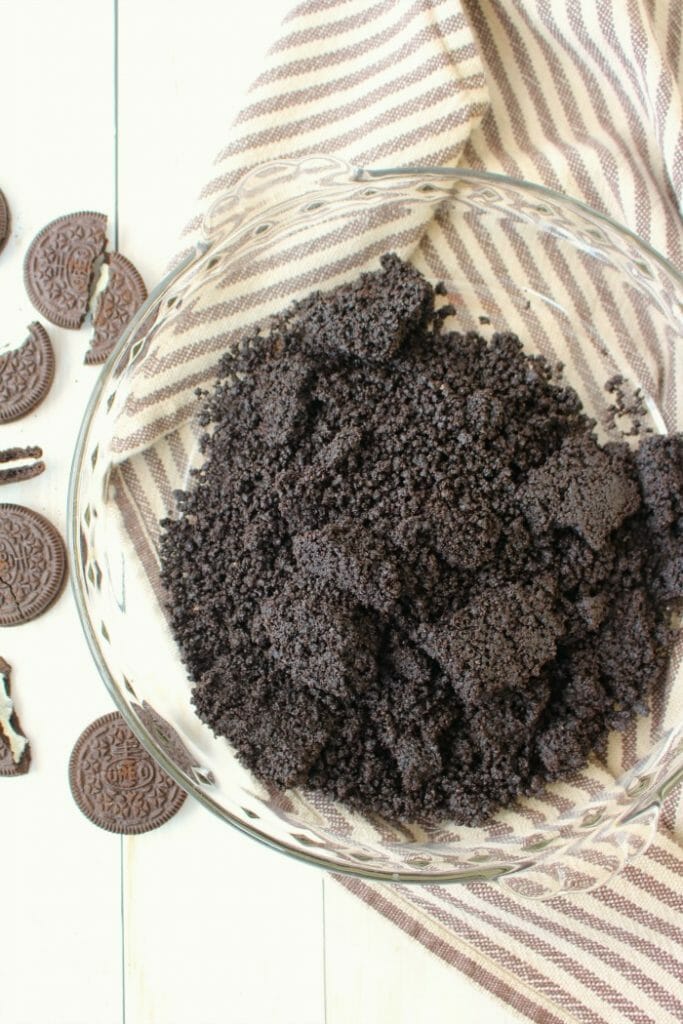
Pour the crumbs out into a pie plate or pan. Firmly press the crumbs to the sides and bottom of the pie plate. Feel free to use your hands, or the bottom of a measuring cup also works really well.

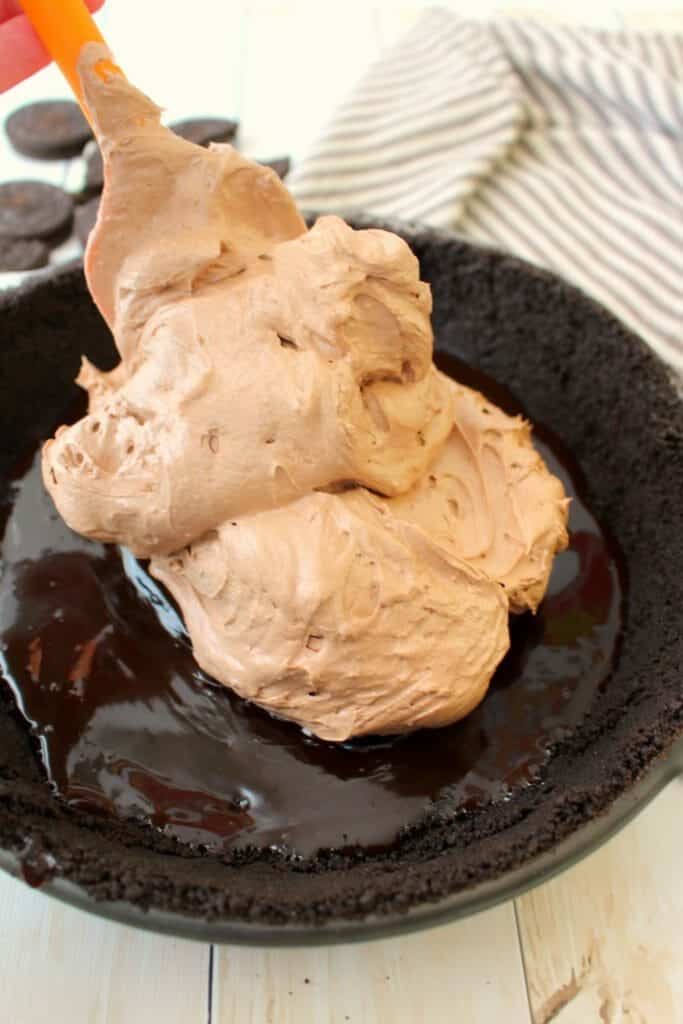
Once the crust is firmly pressed into the pie plate, add the warmed hot fudge to the bottom. Much like my No Bake Peanut Butter Cheesecake and my No Bake Chocolate Cheesecake, this thin layer of hot fudge at the bottom of the pie is a decadent little surprise with each bite of pie.
After spreading the hot fudge on the bottom of the crust, refrigerate the fudgy crust to let it set and firm up.

Step 2: Make the Chocolate Mousse Filling
Begin by melting the chocolate chips. Make sure you reference the package of the chocolate chips that you’re using. Every product is a little different.
I like to use my microwave, and melt/stir on 30 second increments. This helps prevent overheating, resulting in grainy, over-cooked chocolate. Set the melted chocolate chips aside to cool slightly.
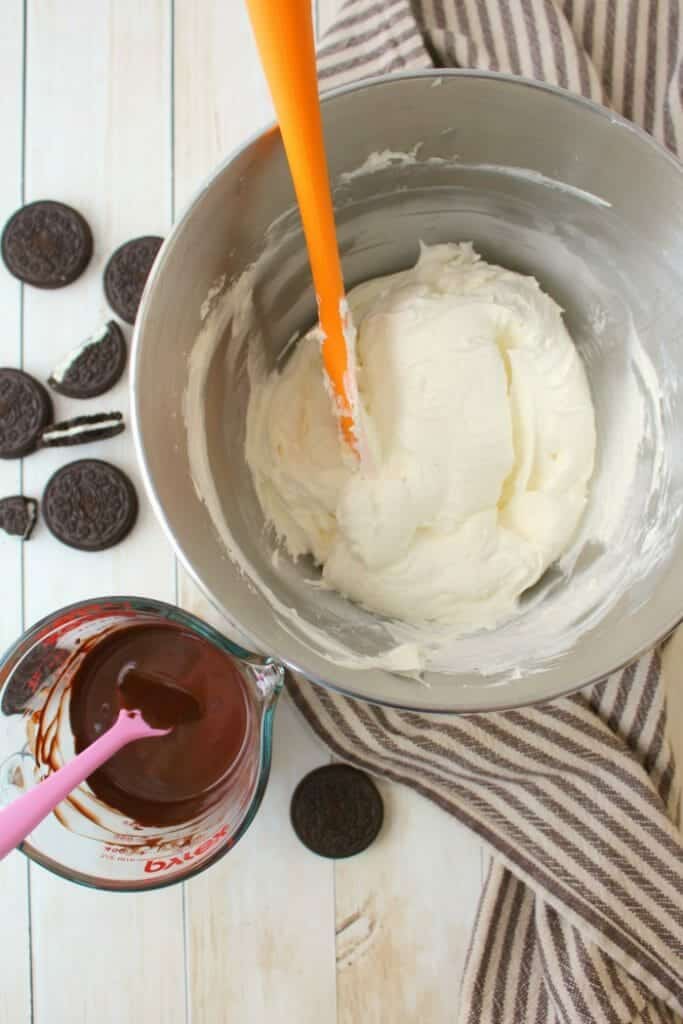
While the chocolate cools, begin making the cream filling. Using a hand or stand mixer, cream together the room-temperature cream cheese, powdered sugar and vanilla. Room temperature cream cheese is important. If you’re using cold cream cheese directly from the refrigerator will result will be a lumpy filling.
Next, gradually add in half of the thawed whipped topping. Make sure that you reserve the other half of the whipped topping for the top of the pie.
To the cream cheese mixture, you’ll then add in the melted chocolate chips. I like to use semi-sweet or dark chocolate chips, as I really love the flavor. However, if you’re more of a milk chocolate person, feel free to use milk chocolate chips.
Mix in the melted chocolate gradually using your mixer. Stop the mixer often to scrape down the sides of the bowl.

Assemble the no bake chocolate pie
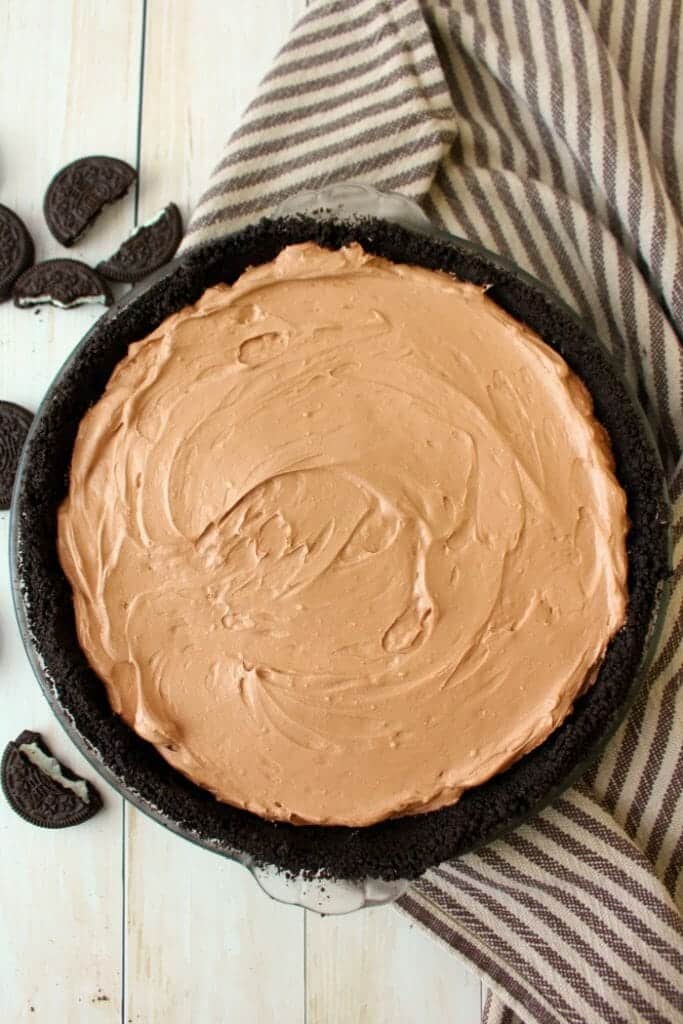
Spread the chocolate filling into the chilled crust. It’s helpful to use a rubber scraper to spread the filling to the bottom and sides of the crust.
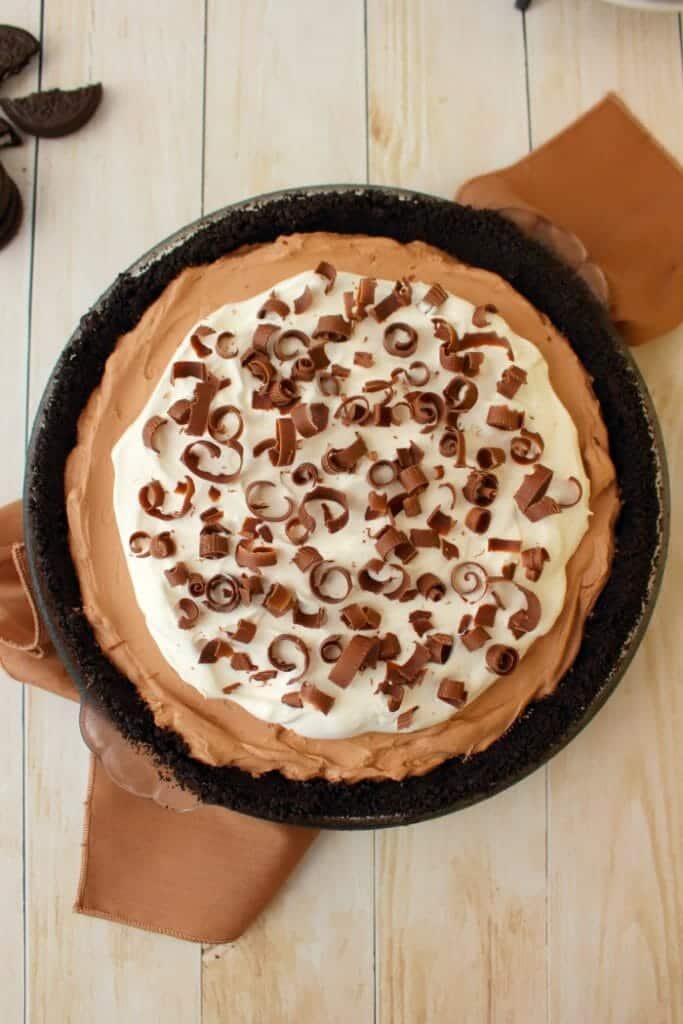
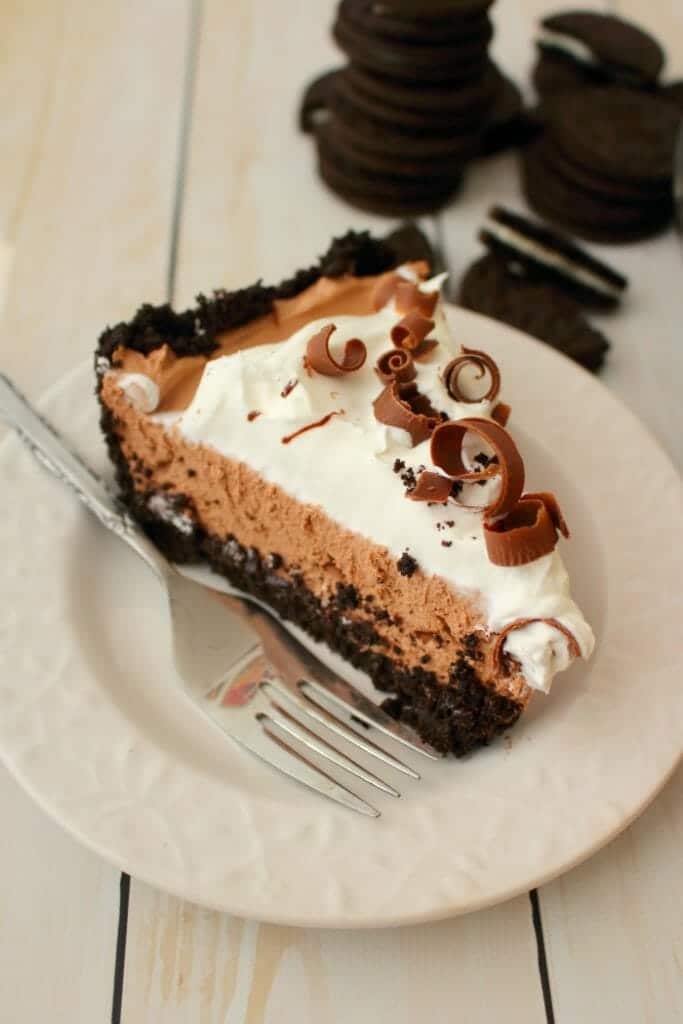
Once the filling is evenly spread into the crust, you’ll then top with the remaining whipped topping. Place in the center of the pie and slowly spread out the the sides of the pie. I like to leave a 1″ perimeter around the sides to highlight that delicious chocolate filling.
Lastly, add some pretty chocolate curls. It’s the perfect garnish for this incredible no bake chocolate cream pie!
Making chocolate curls is actually quite simple. Using a vegetable peeler, run it down the edge of a chocolate bar. I used a milk chocolate bar, as dark chocolate can be a little firm to make curls.
Step 3: Chill the Pie
Chill the pie for at least two hours before slicing. This will help the filling firm up and set, helping to create uniform slices.
This dessert is fantastic for holiday meals, like Easter dinner or brunch, and great for your Christmas feast. It makes for an amazing make-ahead dessert to serve for company with a cup of coffee.
Love chocolate? Check out our other popular chocolate dessert ideas:
- Buttermilk Chocolate Cake
- Chocolate Crinkles
- Chocolate Rice Krispie Treats
- Dark Chocolate Pecan Pie
- Double Chocolate Banana Bread
- Lunch Lady Brownies
- German Chocolate Brownies
If you loved this No Bake Chocolate Pie recipe, check out some of my other delicious no bake desserts:
- No Bake Cherry Cheesecake
- No Bake Peanut Butter Pie
- Lemon Blueberry Cheesecake Bars
- Lemon Raspberry No Bake Pie at Real Housemoms
- No Bake Pumpkin Pie
- Creamy Blueberry Pie
- No Bake Pumpkin Cheesecake
- No Bake Chocolate Cheesecake
- Eggnog Cheesecake
- Creamy Strawberry Pie
- Lemon OREO Icebox Pie
- No Bake OREO Cheesecake
- No Bake Peanut Butter Cheesecake
Get the No Bake Chocolate Pie recipe here:
Want to Save This Recipe?
Enter your email & I’ll send it to your inbox. Plus, get great new recipes from me every week!
By submitting this form, you consent to receive emails from Delightful E Made.
No Bake Chocolate Pie

Equipment
- Stand Mixer This KitchenAid Stand Mixer is a must-have tool for any home baker!
- Food Processor This Ninja Pro Food Processor is easy to use and great for quickly prepping ingredients.
- Pie Plate This glass Pyrex pie plate is a must-have for any home baker.
- Pie Server This stainless steel pie server making slicing and serving pie super simple.
Ingredients
Crust:
- 22 OREO cookies or any other chocolate sandwich cookie
- 5 Tablespoons butter melted
- 1/2 cup hot fudge ice cream topping warmed
Filling:
- 1 (8 oz. pkg.) cream cheese room temperature
- 1/2 cup powdered sugar
- 1 teaspoon vanilla extract
- 1 (16 oz. carton) Cool Whip divided
- 1 cup semi-sweet chocolate chips melted
Topping:
- 1 milk chocolate bar for chocolate curls
- remainder of whipped topping
Instructions
OREO Cookie Crust:
- Crush the cookies in a food processor until small crumbs form. Add the melted butter, and pulse a few more times to mix into the crumbs. Pour the cookie crumb mixture into a pie plate, and firmly press into the bottoms and sides to make a crust.
- To the bottom of the crust, pour and evenly spread the hot fudge topping. Chill the crust in the refrigerator or freezer.
Chocolate Pie Filling:
- Melt the chocolate chips according to package directions. Set aside.
- Using a hand or stand mixer, cream together the room temperature cream cheese and powdered sugar. Add the vanilla extract and mix together until creamy and smooth. There should be no lumps. Gradually add in half of the thawed whipped topping (make sure to reserve the other half for the top of the pie.) Stop the mixture often to scrape down the sides of the bowl. With the mixer running on the lowest speed, gradually add in the melted chocolate, stopping often to scrape down the sides of the bowl. Mixture will be thick and fluffy, resembling chocolate mousse.
- Add the chocolate mousse filling to the chilled crust. Spread the filling evenly to all sides of the crust.
Pie Topping:
- Top the chocolate filling with the remaining whipped topping. Sprinkle the chocolate curls/shavings to the top of the whipped topping.
- Chill pie for at least 2 hours before slicing and serving.
Notes
Nutrition

That looks delicious! I bet that ice cream topping makes a nice addition to the pie. Pinned.
My oh my! I love the ease of the pie and the surprise in the bottom. I LOVE surprises. =) Pinning!
This looks so yummy! I had to write it down. I can’t wait to try it. (And your photos make it look amazing.) Thanks for sharing.
Chocolate cream pie is my FAVOURITE. I have memories of my mom making this from time to time when I was a child… <3 Thanks for sharing! -From Pretty Pintastic
Yes Please! This pie looks fantastic! Thanks so much for sharing your awesome post with us at Full Plate Thursday. Have a great week and come back soon!
Miz Helen
Yum! You can never go wrong with chocolate!
Awe thanks Stacey! So glad you have enjoyed the recipes and they have been a hit! Love the idea of a good fudge! Reminds me of a trip a took years ago to Mackinac island they have the most AMAZING fudge! YOu can find it here 🙂 Mackinac Fudge
This sounds fantastic, and I can’t wait to try it!
Congratulations!
Your post is featured on Full Plate Thursday this week, and will be pinned to our Features Board. Thanks so much for sharing it with us and enjoy your new Red Plate!
Miz Helen
Looks delicious! Thanks for sharing at Home Sweet Home!
how long does cream pie last without refrigeration?
I had saved your delicious Chocolate covered Strawberry Pie a long time ago, and have made it several times, but when I tried to open it this time, it showed this recipe. And I did a search for it but it doesn’t come up. What happened to the recipe? I really wanted to make it for Mother’s Day (kind of a tradition).